- 1
Install SlimeVR on Steam
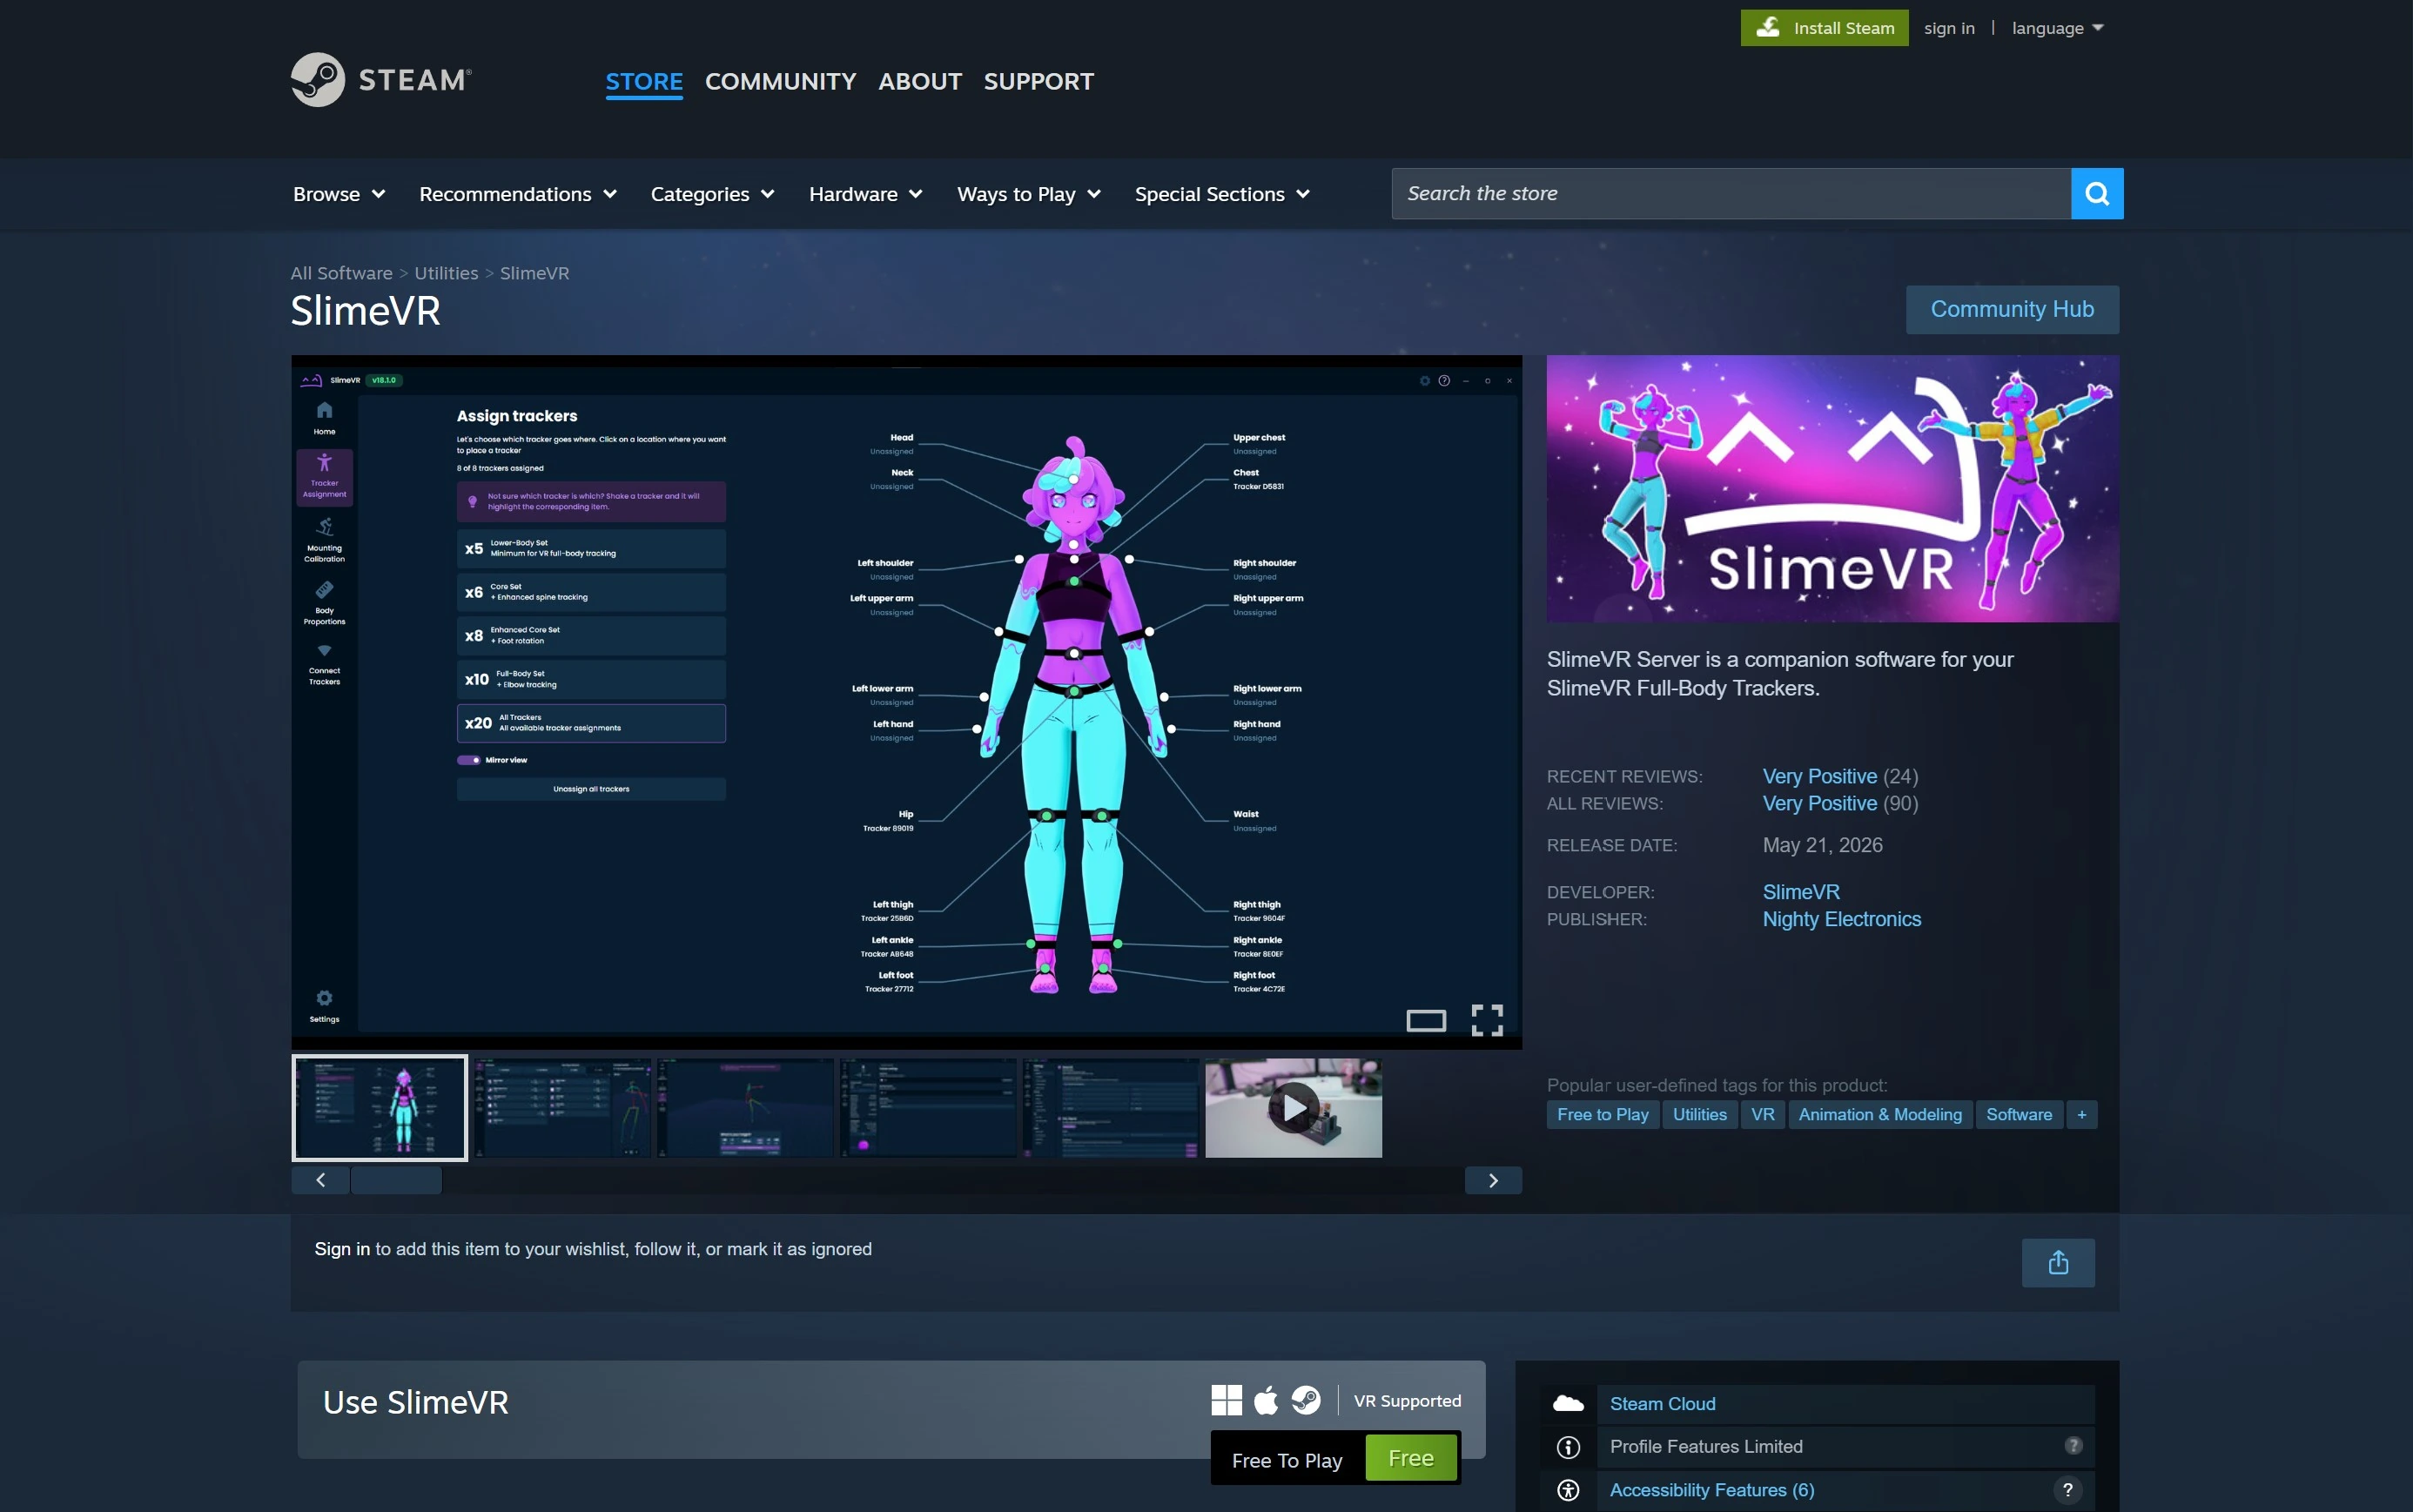
Open the Steam store and add SlimeVR to your library, its completely free!
Install SlimeVR on your computer from your Steam Library.
Optional Hint: You can hide this game from your Steam History by marking the game as "Private". This will stop friends being notified each time you launch SlimeVR.
- 2
Open SlimeVR
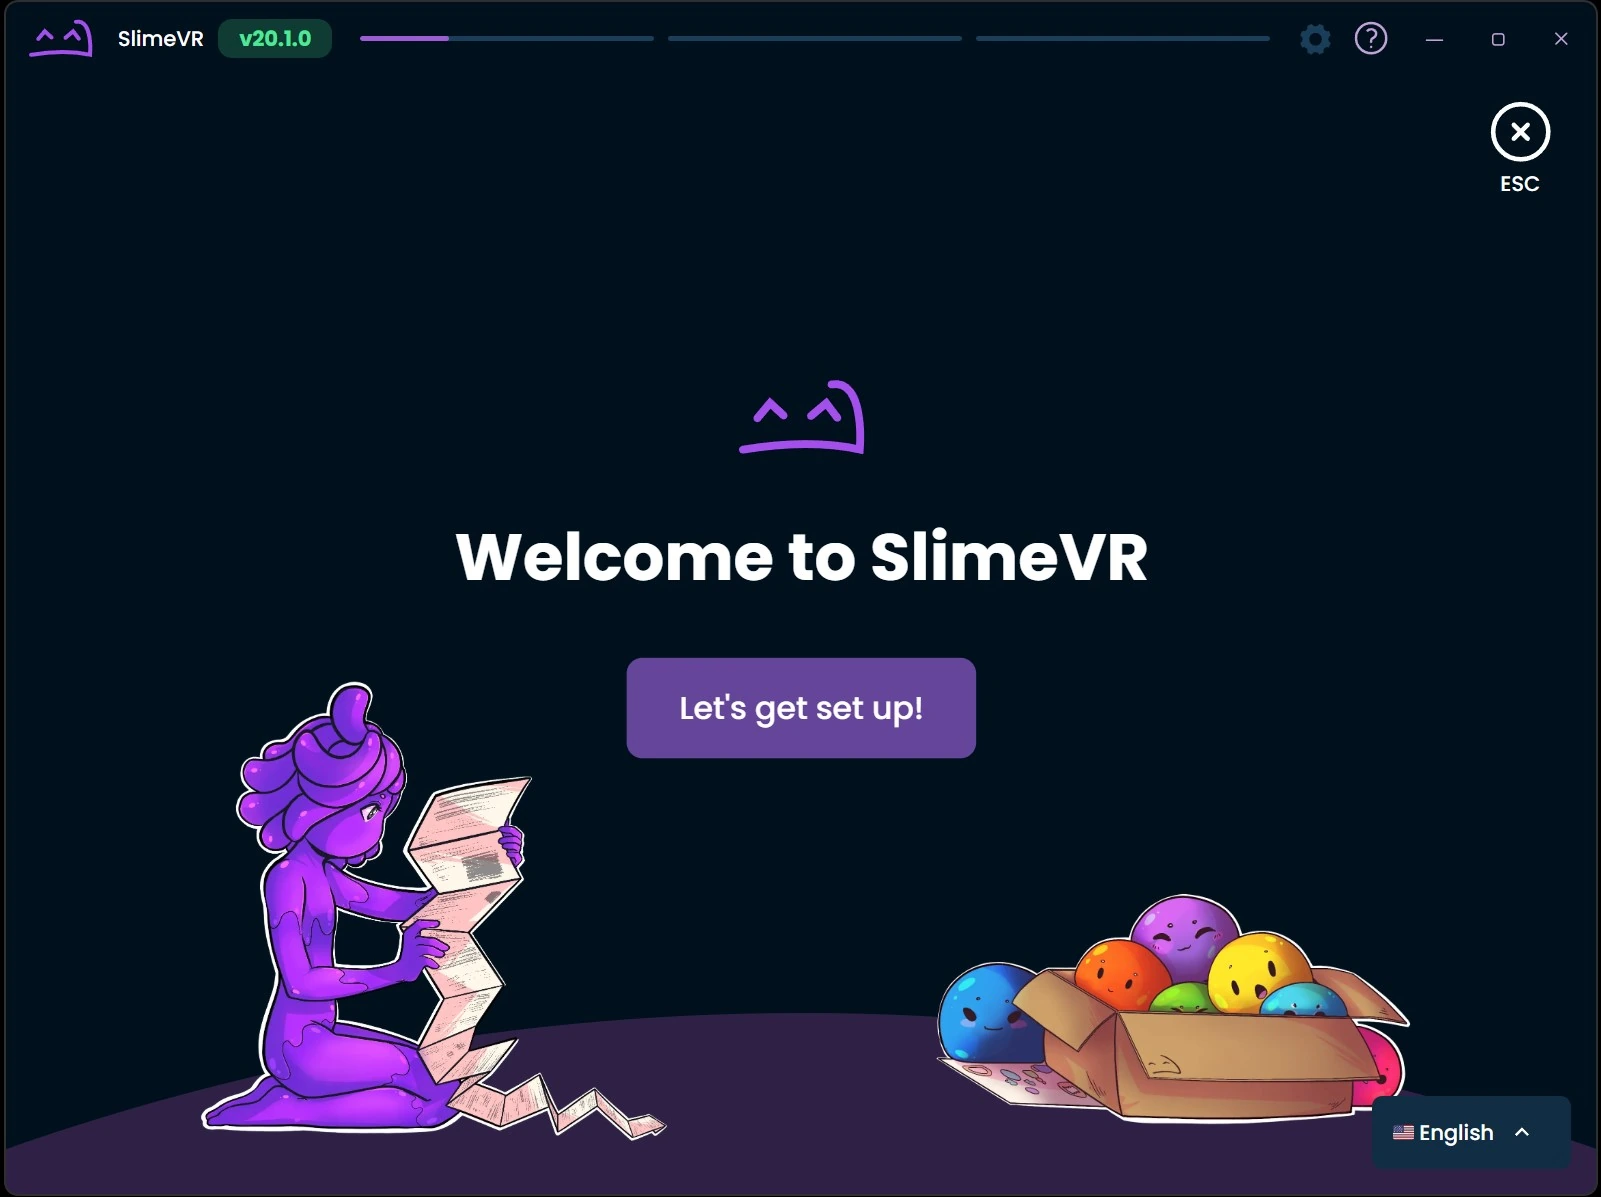
Open SlimeVR and you should see a Setup screen appear. Click on "Let's get set up!" to continue on to the next step.
- Note:
If you have run SlimeVR before you can get back to this setup screen by going to Settings > Utilities > Setup Wizard
- 3
Tracker type & Wi-Fi info
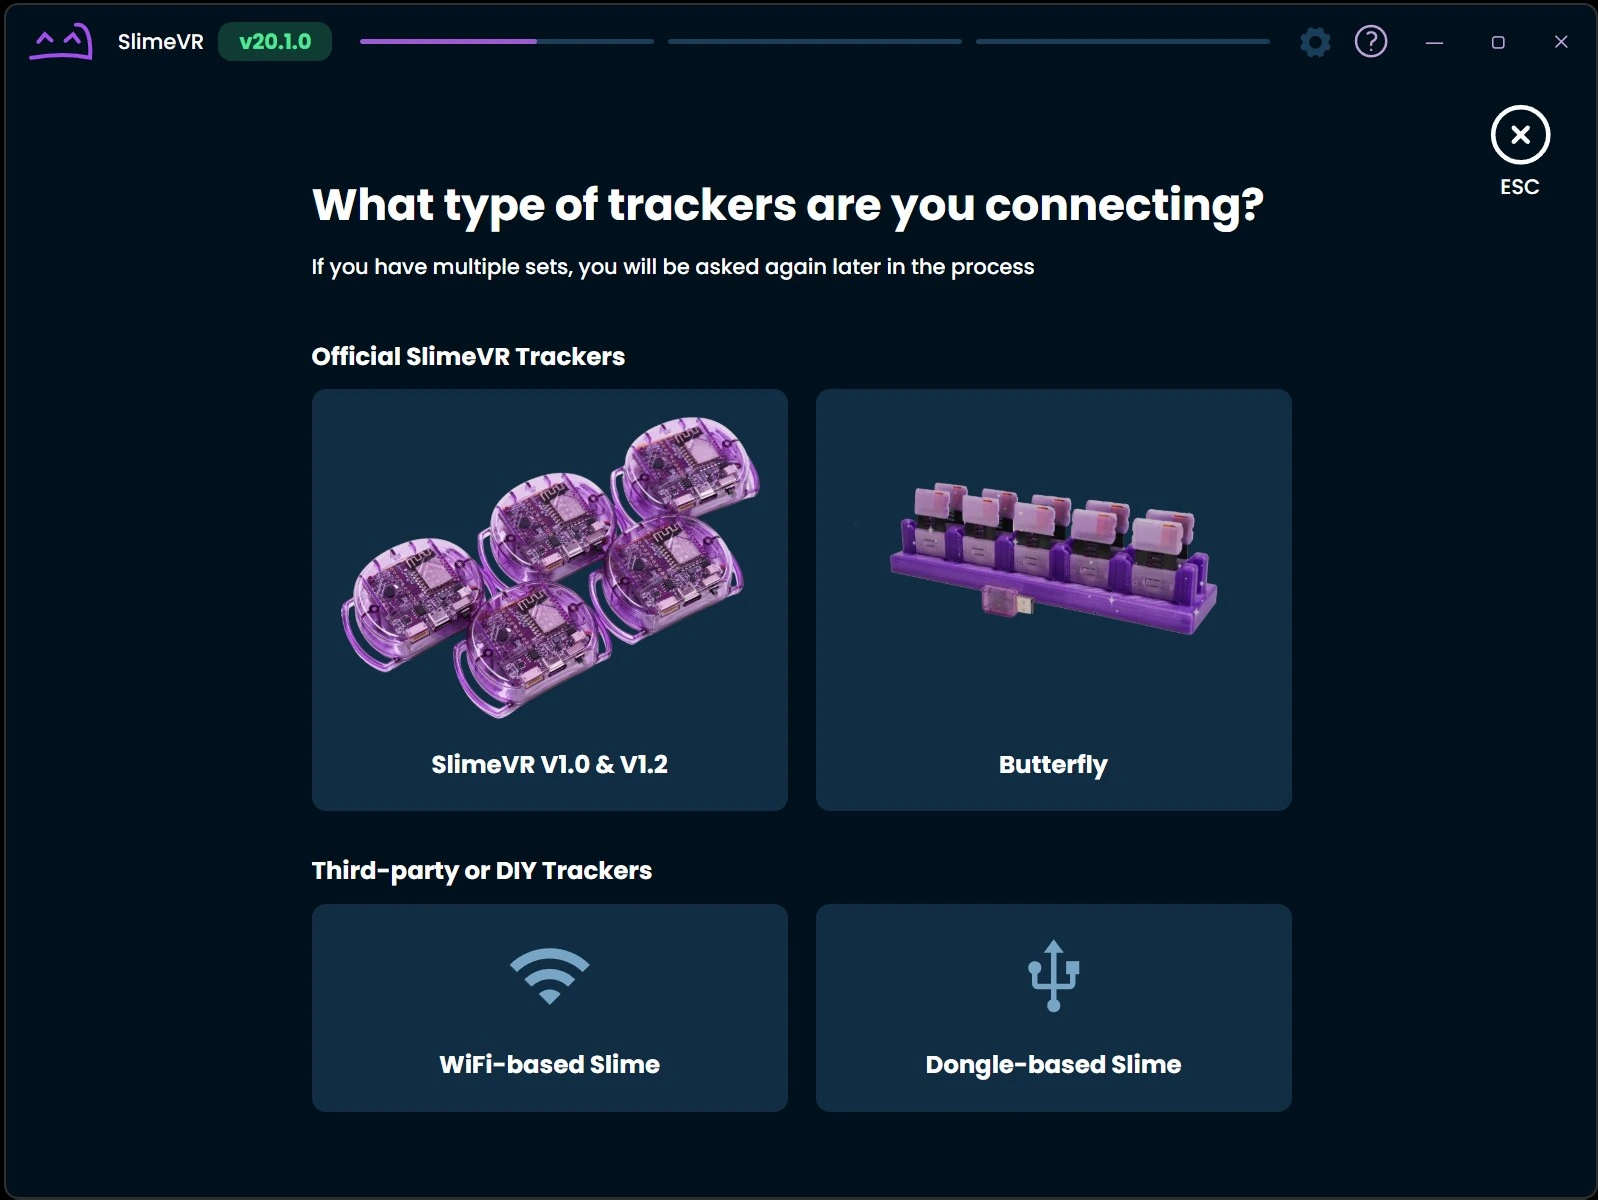
Select "WiFi-based Slime" under the "Third-party or DIY Trackers" section.
Enter your Wi-Fi name and Password into the fields, then click "Submit!" to move on to the next step.
- Note:
If you have have an advanced/custom Wi-Fi setup where you have manually split your Wi-Fi into separate networks for 2.4Ghz and 5Ghz make sure to input the network name for your 2.4Ghz network.
- 4
Connect Tracker with USB-C
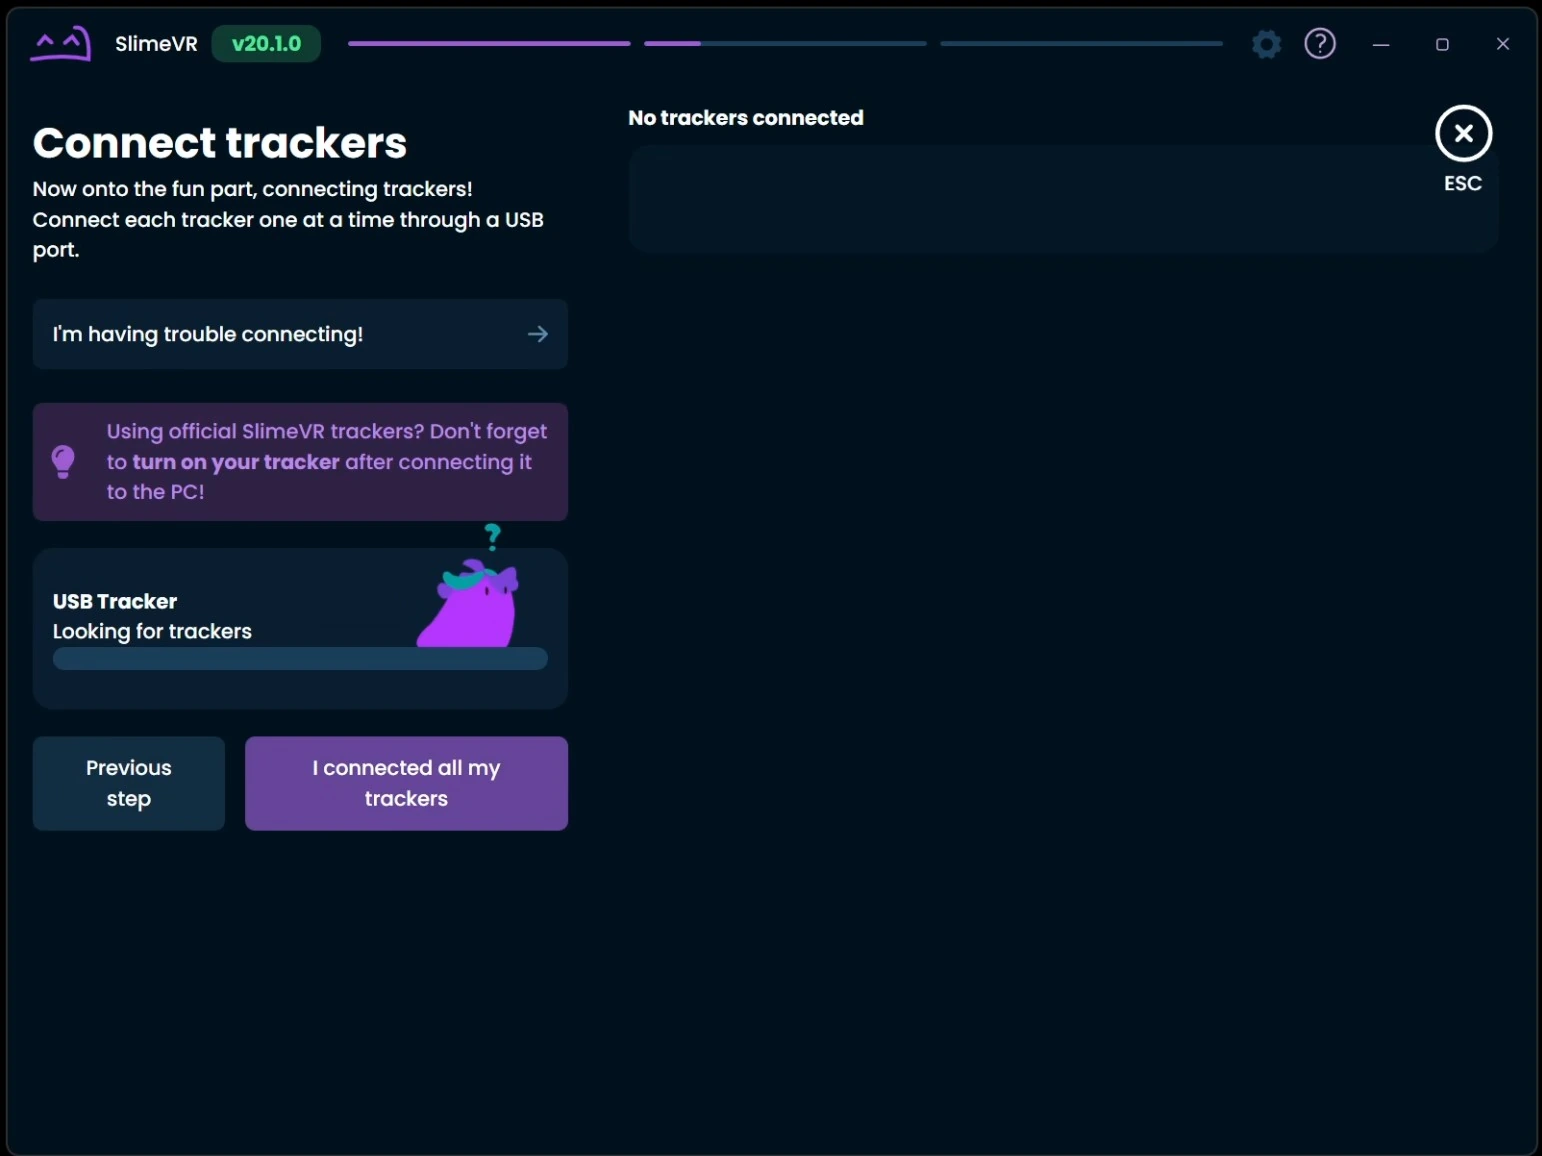
Connect a tracker using a USB-C cable that is connected to your computer, then turn the tracker on using the power switch.
If the tracker does not appear after being plugged in and turned on, try using a different USB-C cable. You need to use a USB-C cable that supports data transfer, some cables may not work if they are charging-only cables.
- 5
Wait for Tracker Success
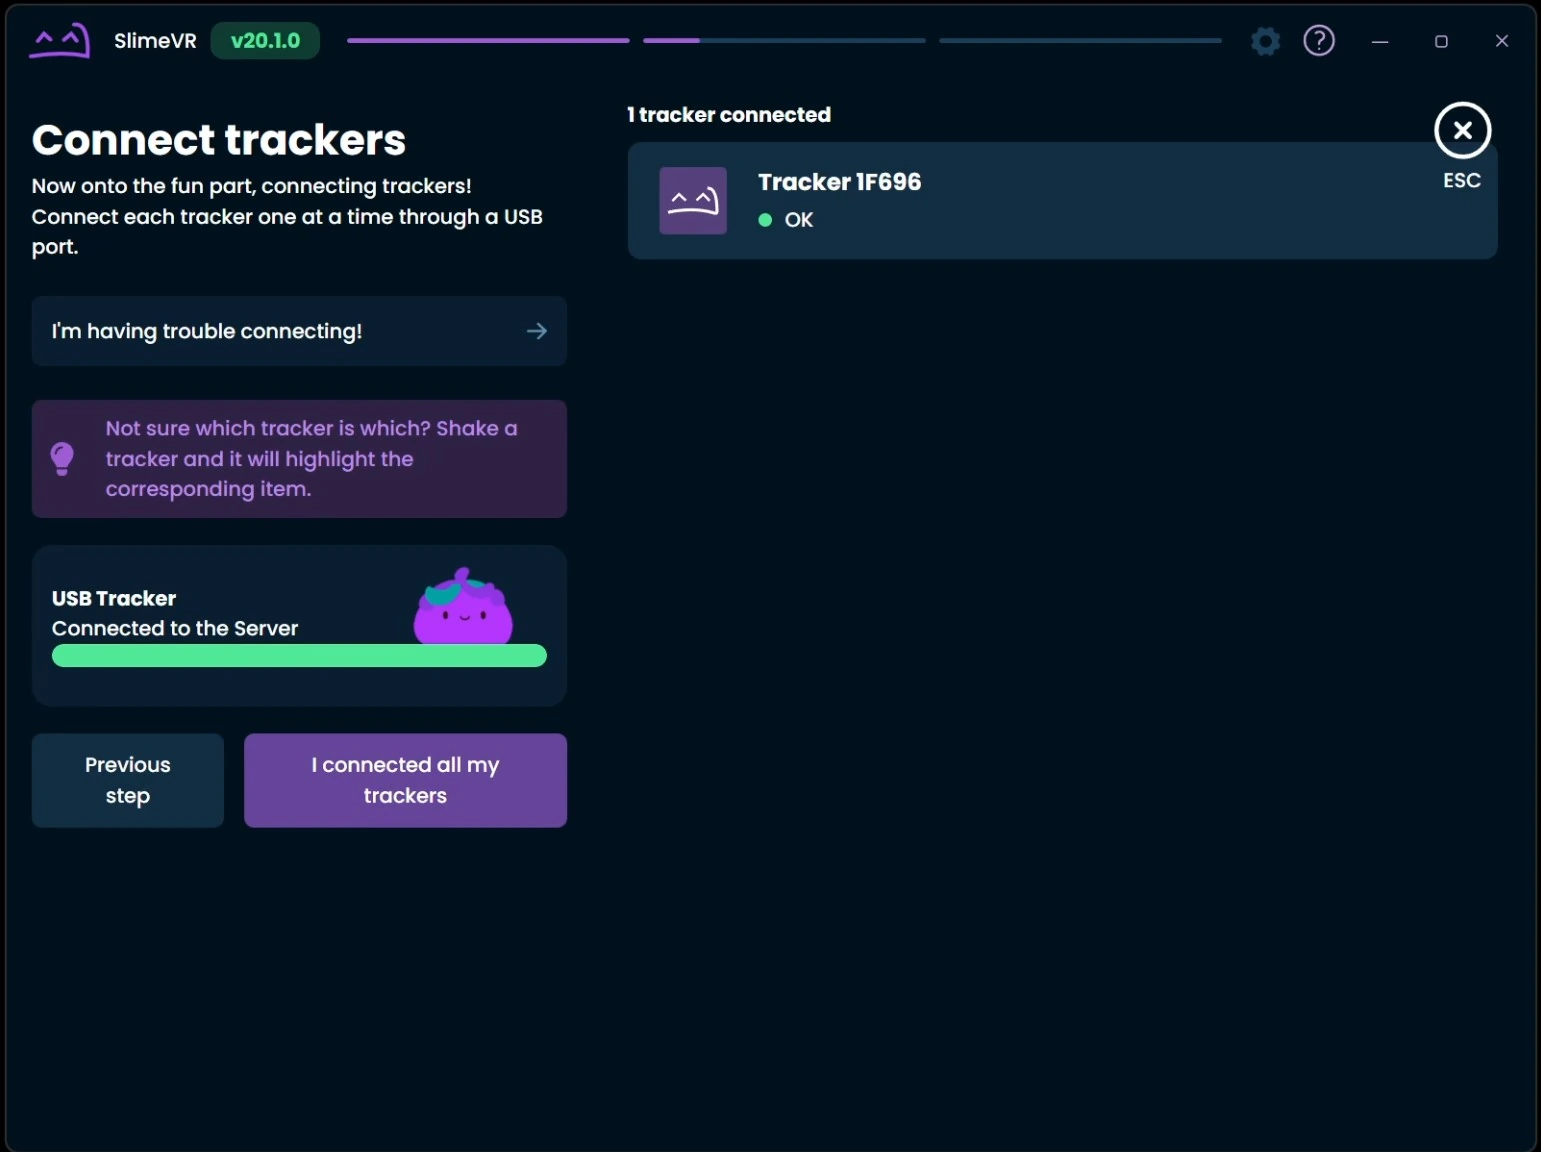
Wait for the tracker to connect to your Wi-Fi and show up in SlimeVR Server.
If you are getting an error where the tracker is unable to connect to Wi-Fi, click on the "Previous step" button and double check your Wi-Fi name and Password are correct.
If you are still having issues, please hop into the Discord server and we will be happy to help you!
- 6
Connect all Trackers
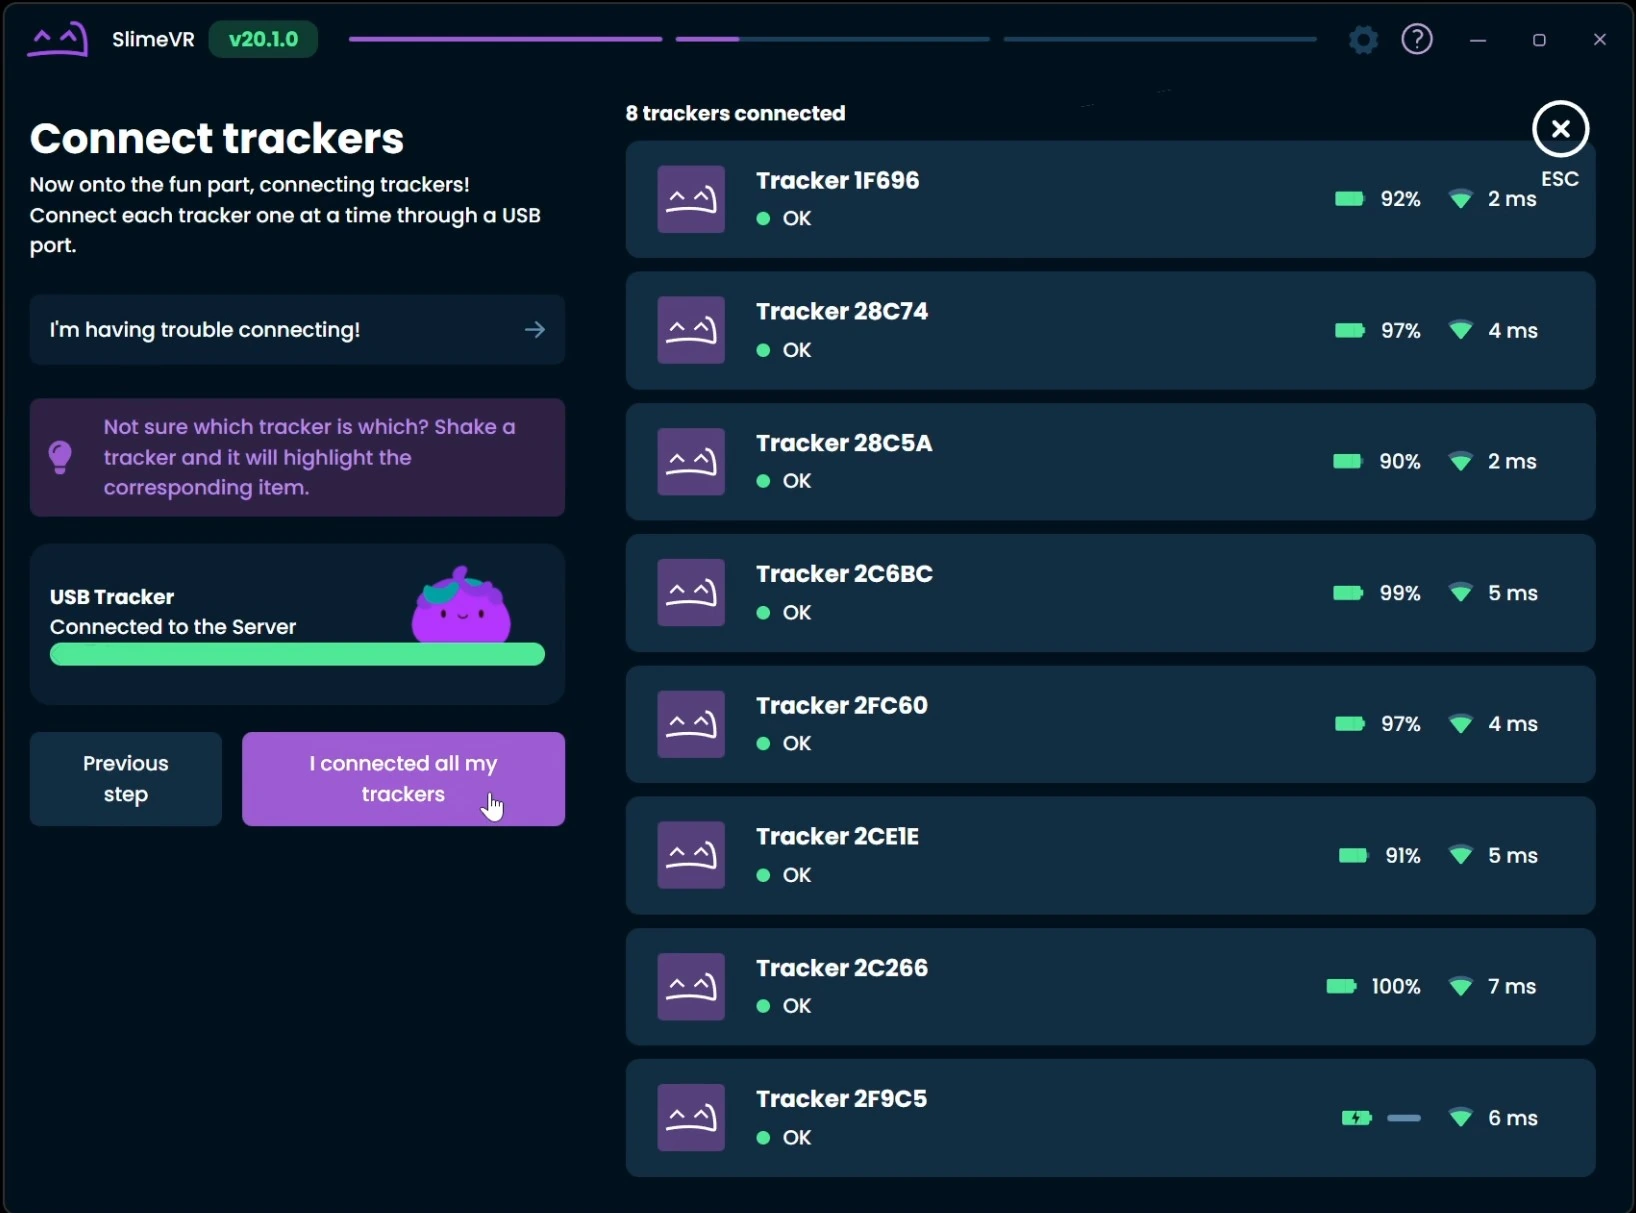
Once the tracker is connected and showing up in SlimeVR unplug it, leaving it turned on. Plug in the next tracker and repeat until all of your trackers are connected.
Once they are all connected click on "I connected all my trackers" then confirm that you have connected all of your trackers in the popup.
- 7
Assign Trackers to Body Parts
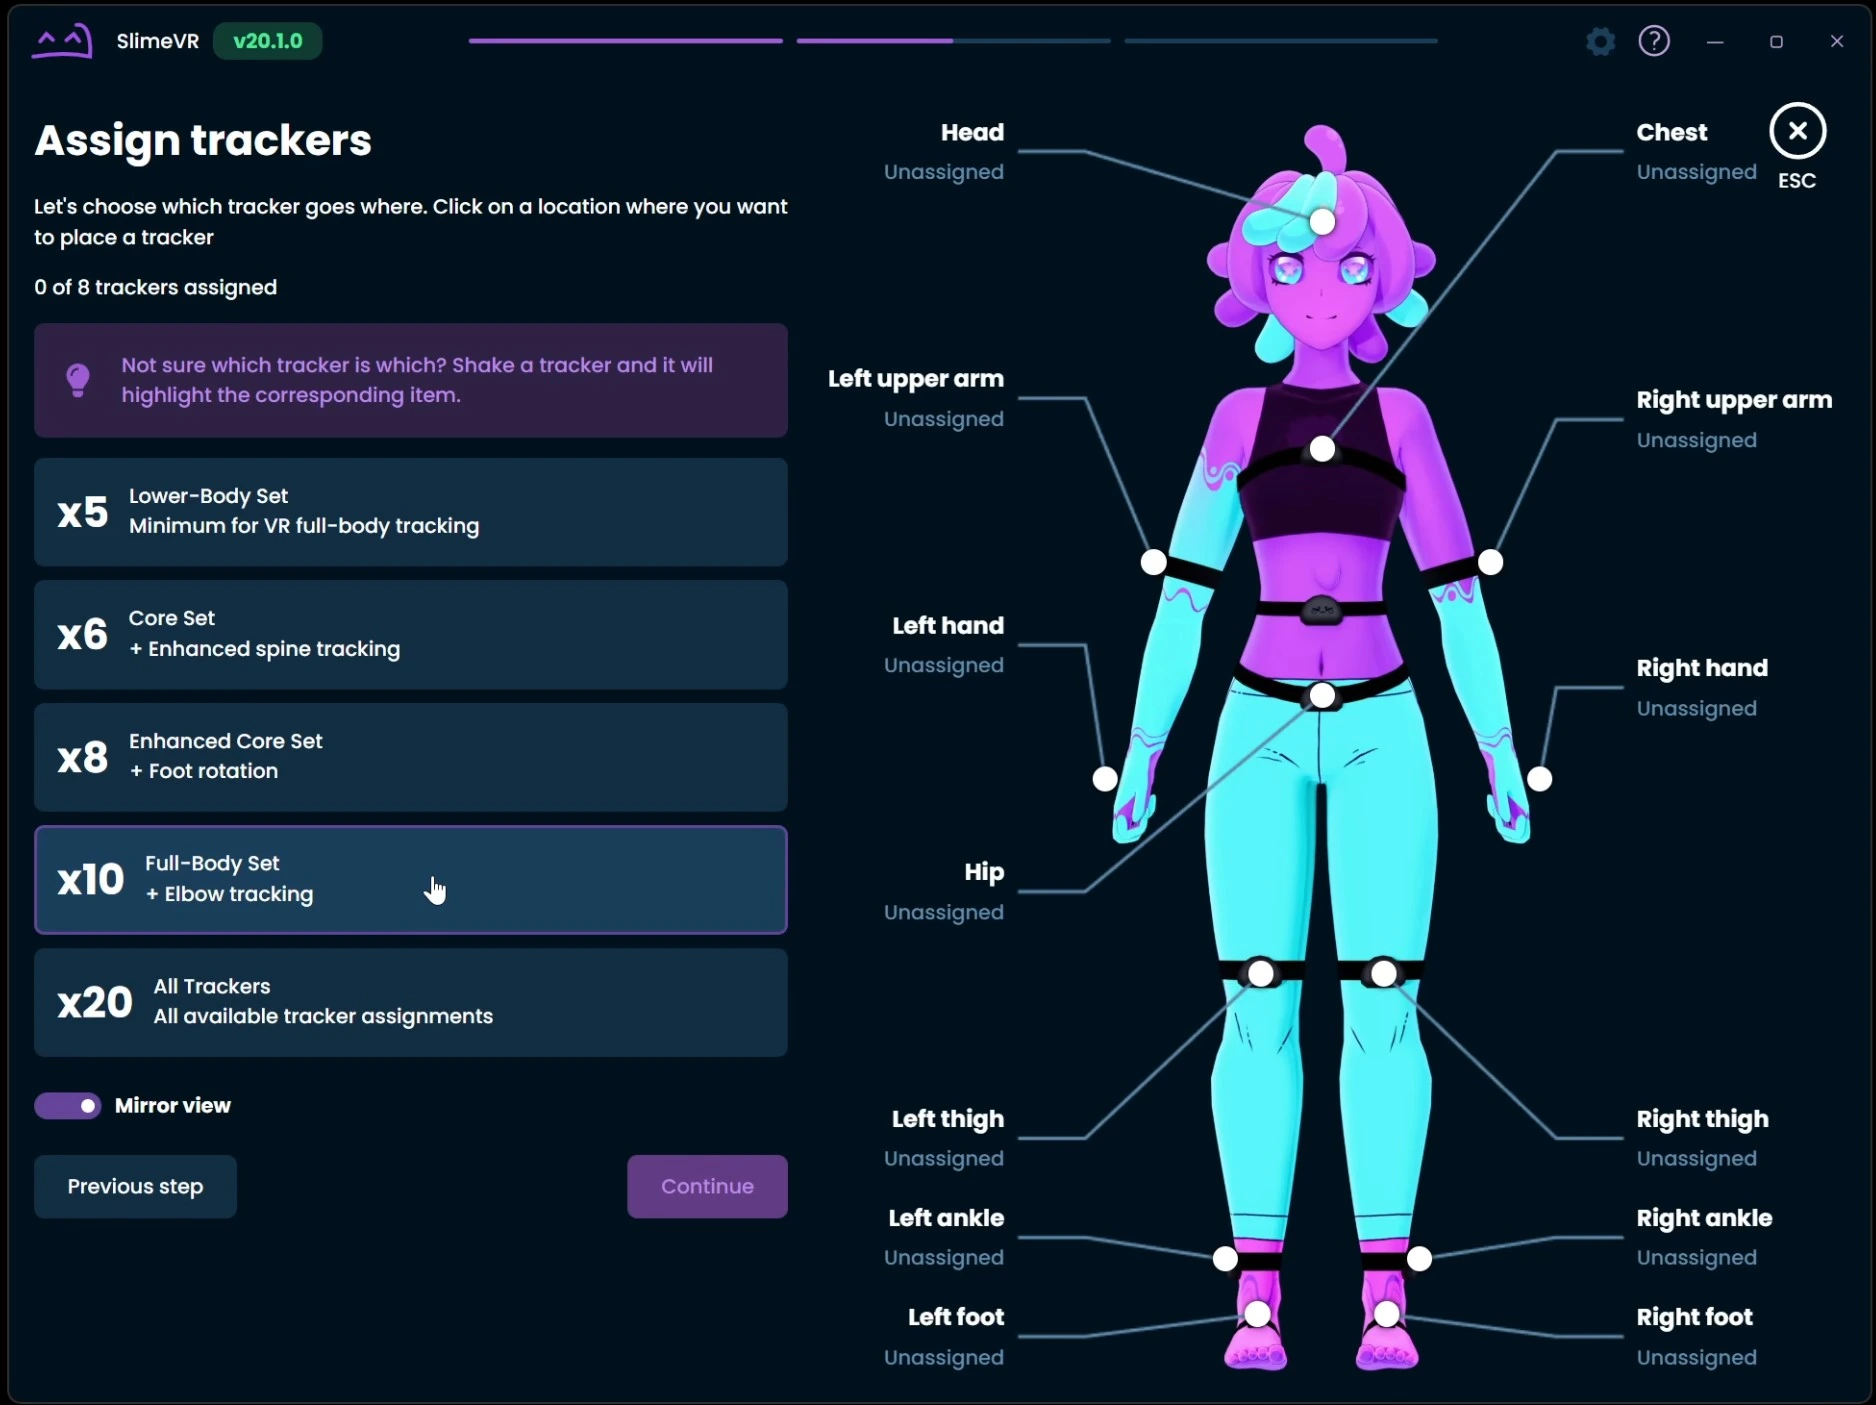
Select the option "x10 Full-Body Set + Elbow tracking" from the menu on the left
Click on a body part to assign a tracker to it
Pickup and move the correct tracker around, this will make it highlight itself in the list. Click on the tracker to assign it to the body part.
Repeat until all trackers have been assigned to a body part, then click on "Continue"
- 8
Automatic Mounting Calibration
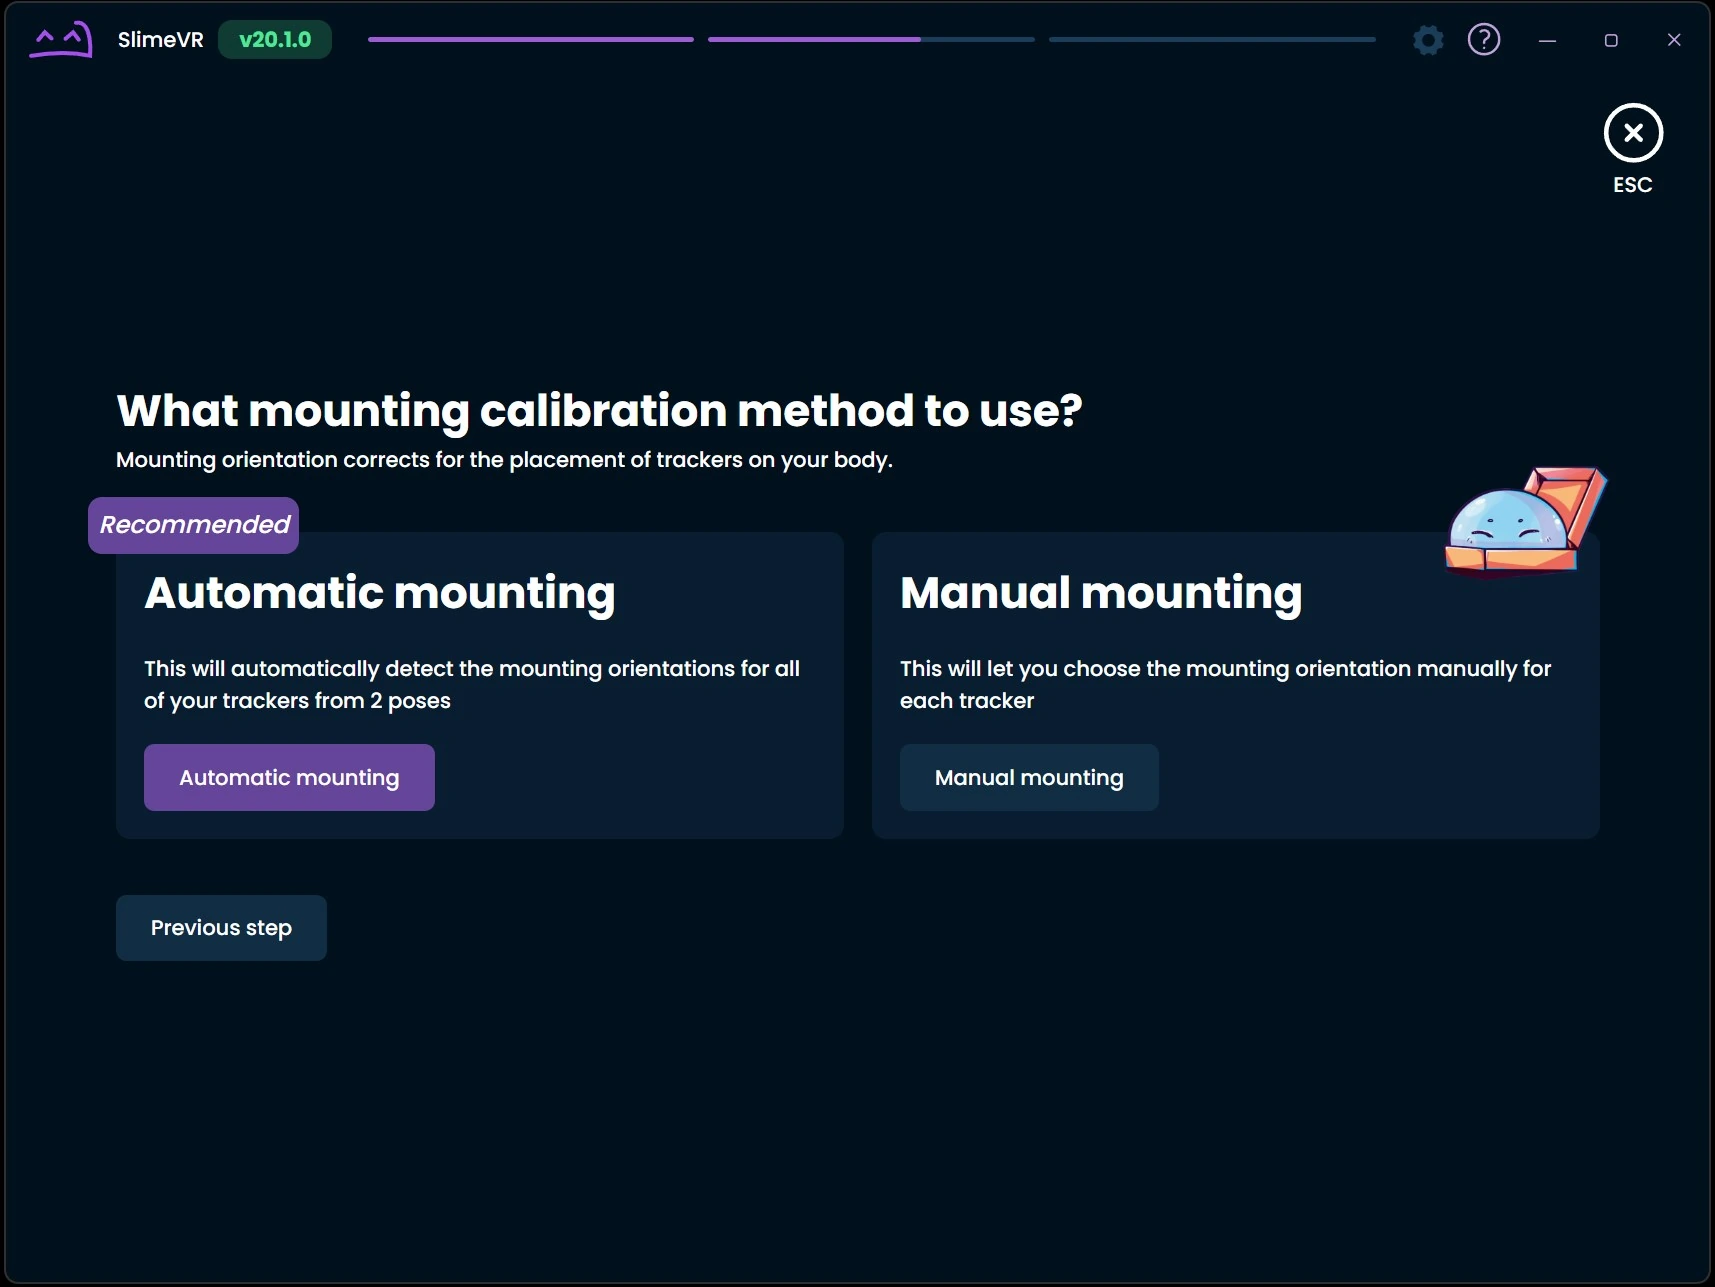
Select "Automatic mounting" then put on your trackers and follow each of the mounting calibration steps.
Once you have completed the automatic mounting calibration guide select "Next Step" to continue.
On the next step input your height then click "Continue and save".
- 9
Select Use Type
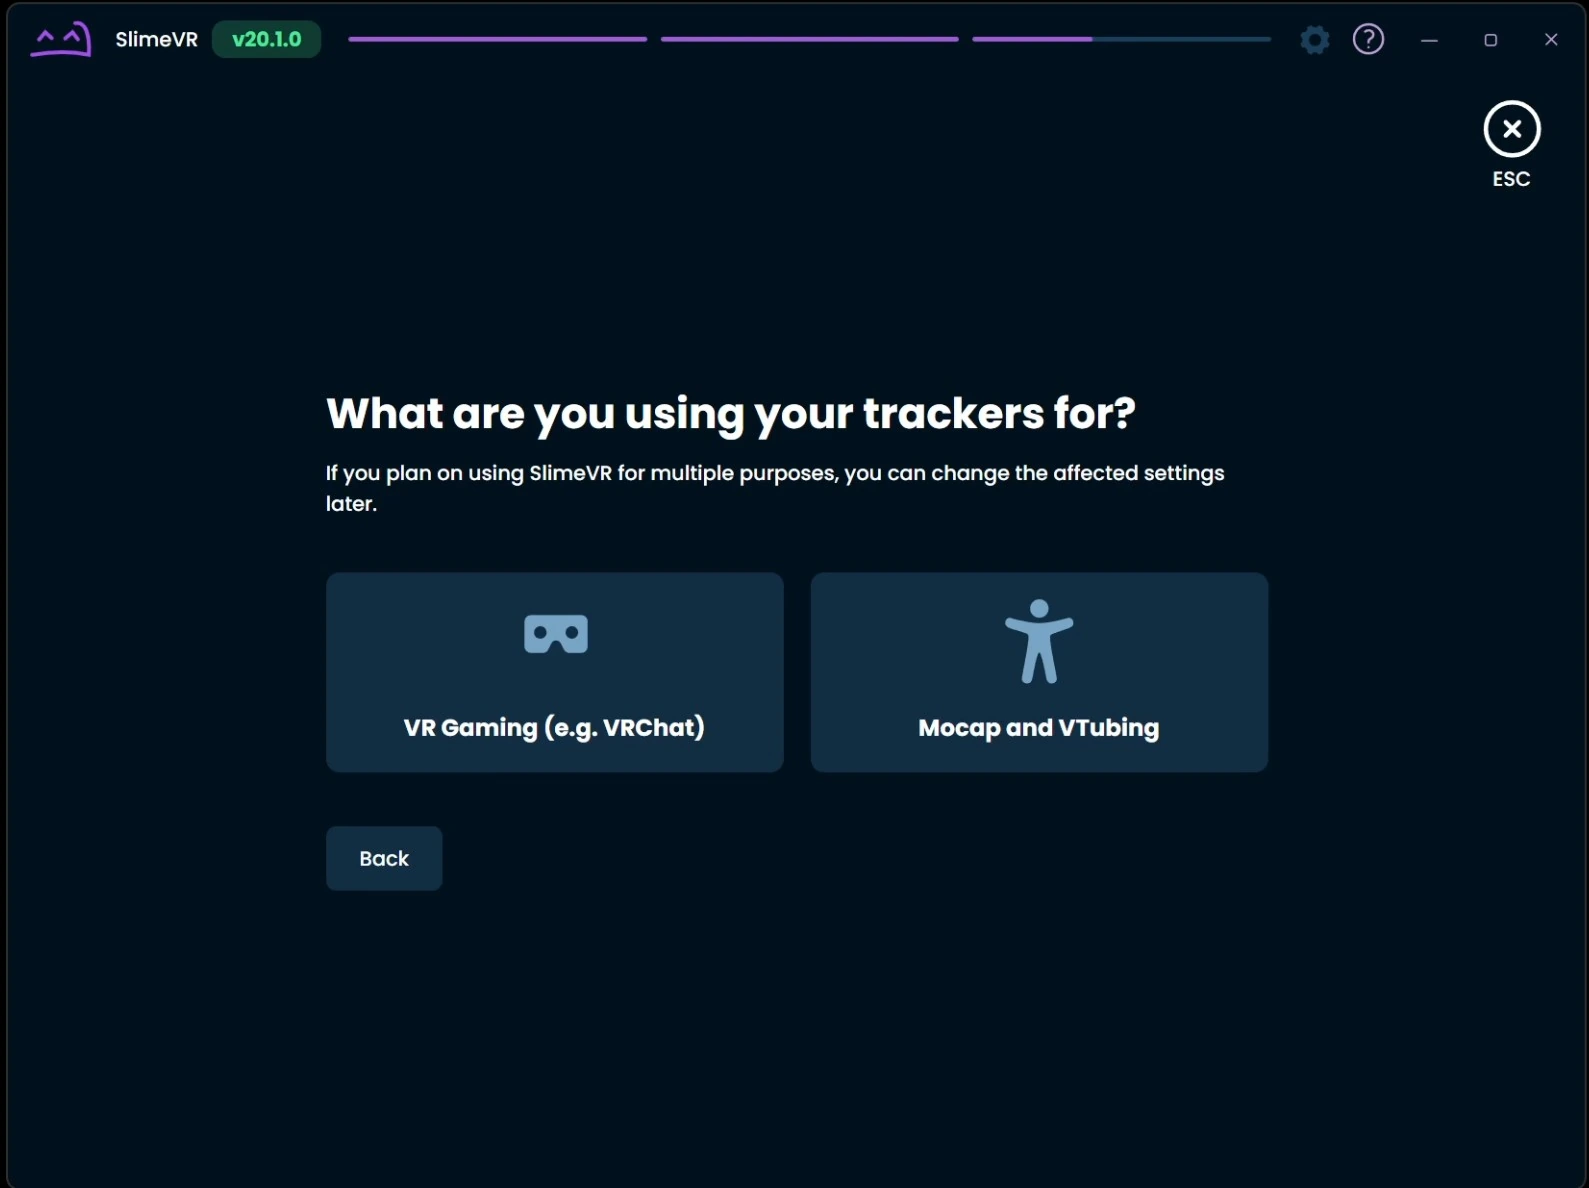
Select "VR Gaming" on the first screen, and then "SteamVR" on the second screen.
- Note:
If you do not use your PC to run VRChat then you will need to select "Standalone" and follow those setup steps.
The setup wizard should now be complete!
- 10
Launch SteamVR & Recalibrate
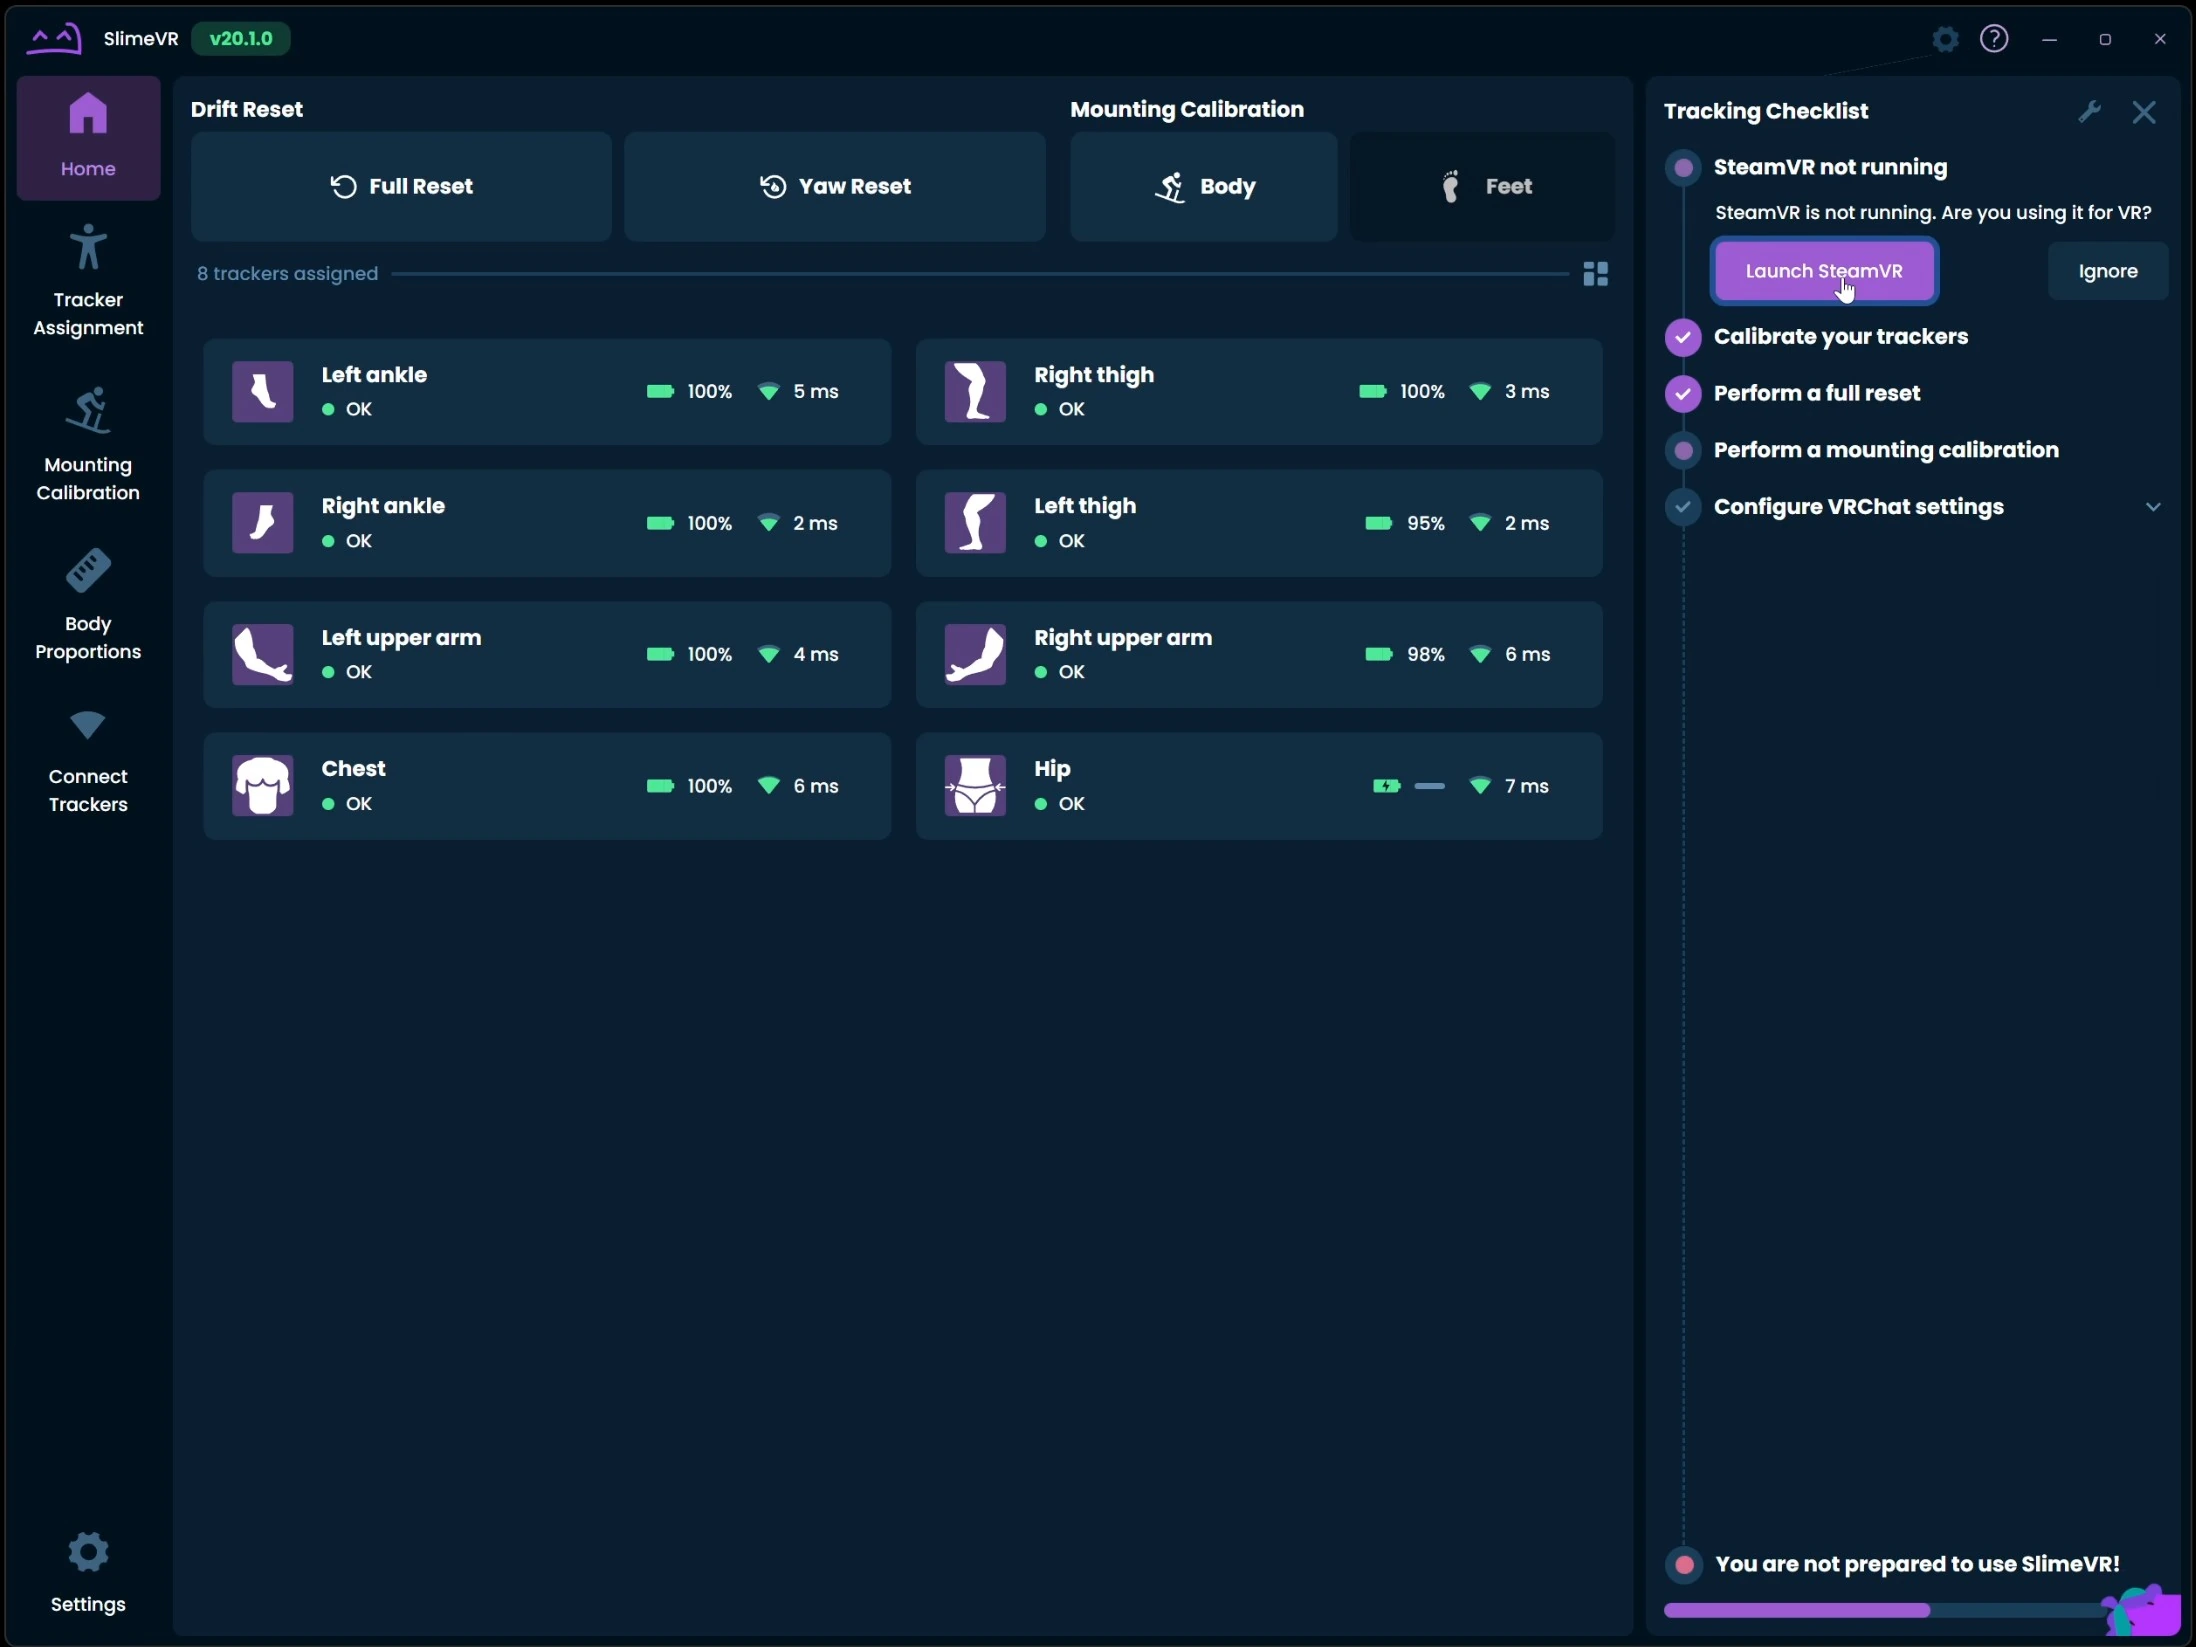
Launch SteamVR and put on your headset.
Perform a full reset and mounting calibration now that your headset is on.
Open up the VRChat Settings wizard by clicking on "Go to VRChat Warnings" then go to the next step.
- 11
VRChat Settings (Big Menu)
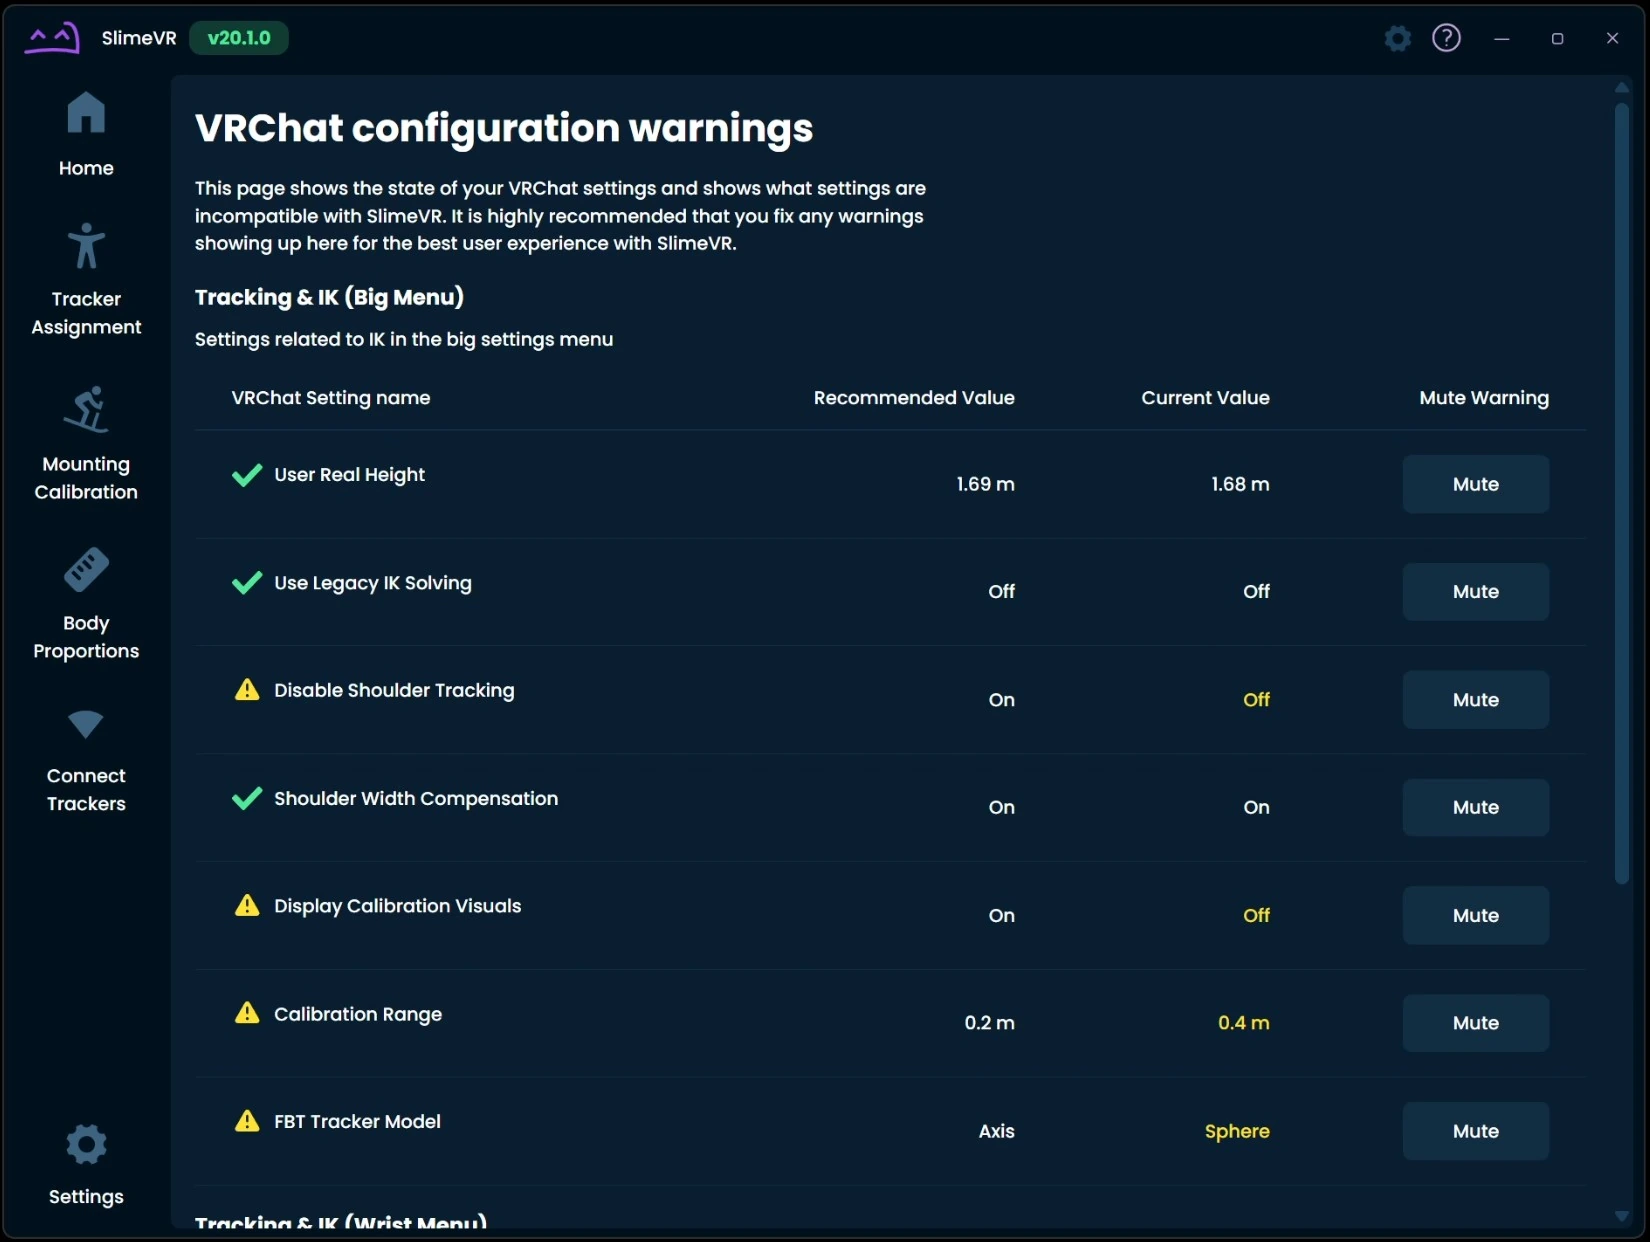
Open up VRChat, then open up your "Big Menu" and go to "Settings > Tracking & IK"
Adjust the settings to fix the warnings in SlimeVR. Once you complete the "Big Menu" section you can move on to the next step.
- 12
VRChat Settings (Wrist & Radial Menu)
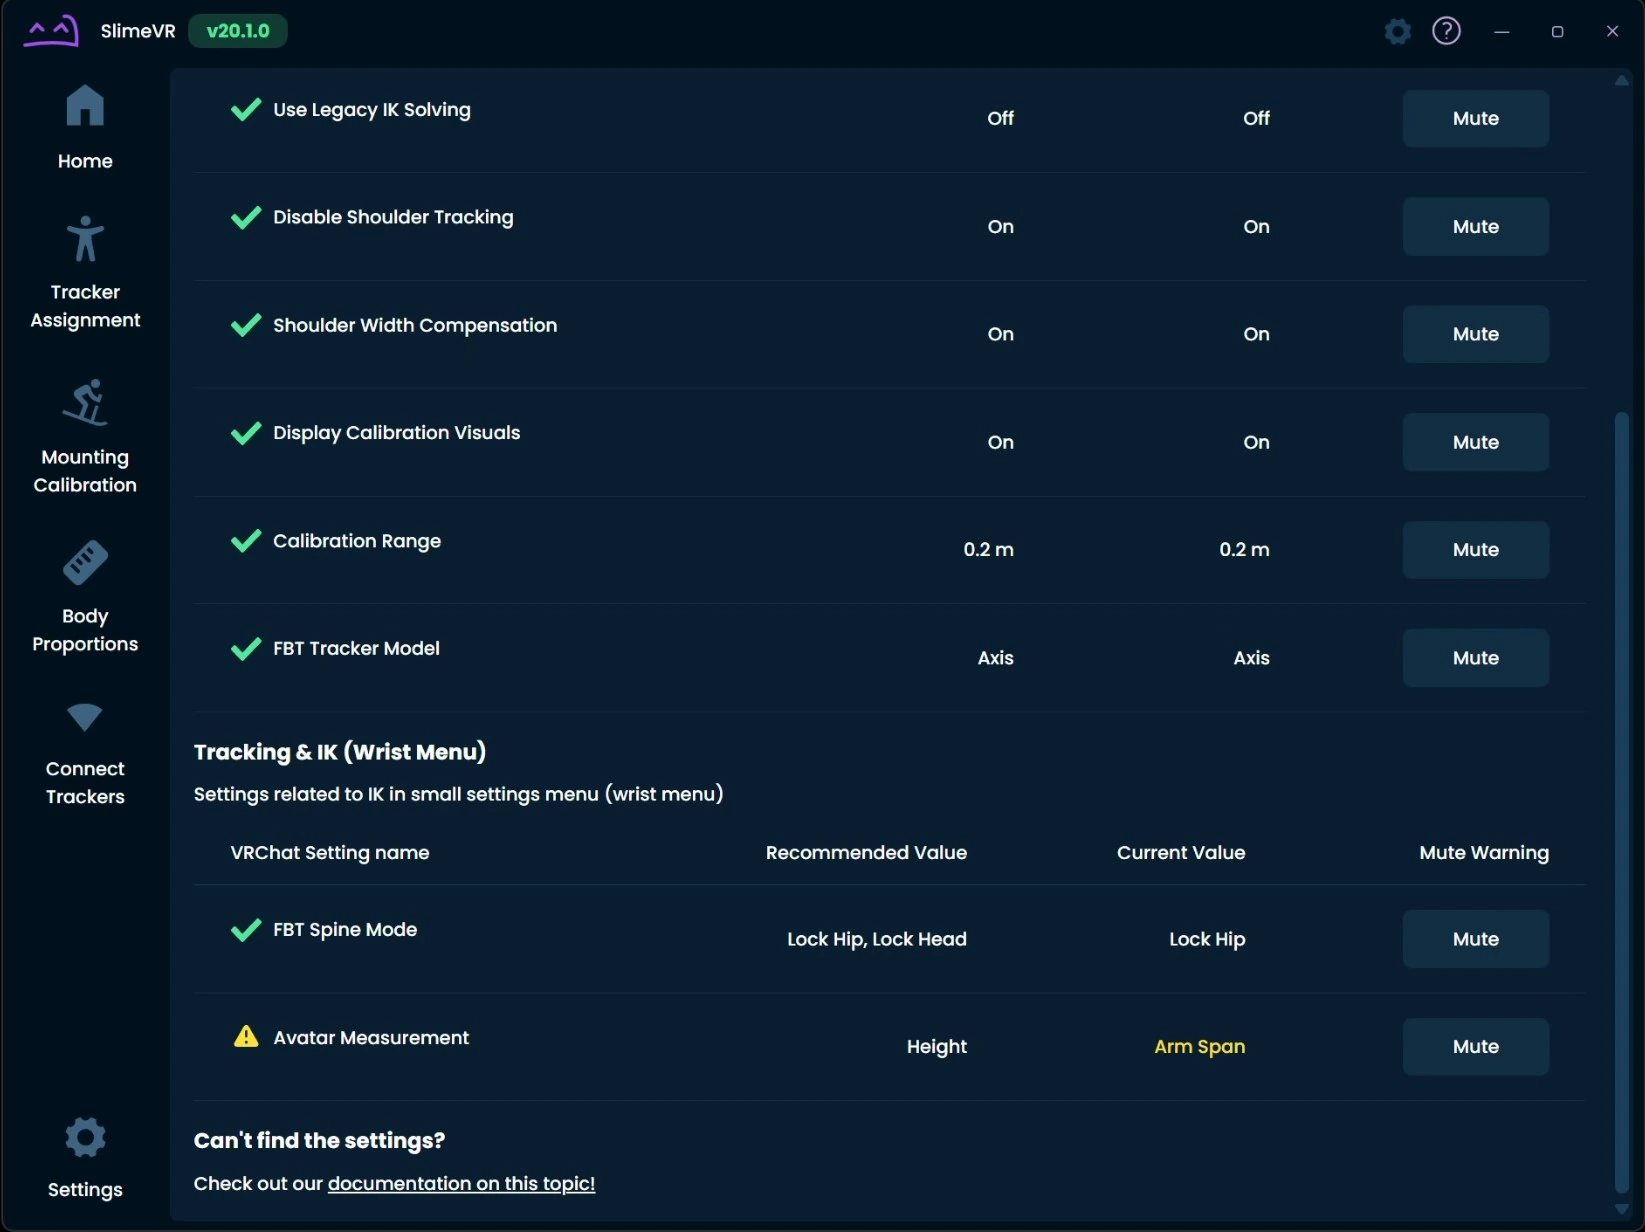
Open up the small/wrist menu in VRChat, select the Settings cog, then scroll down to "Tracking & IK". Adjust the settings to fix the warnings in SlimeVR.
Open up the Radial Menu and turn on your "Calibration Mirror" by going to "Options > Personal Mirror > Settings > Calibration Mirror".
- 13
SlimeVR "Stay Aligned" Wizard
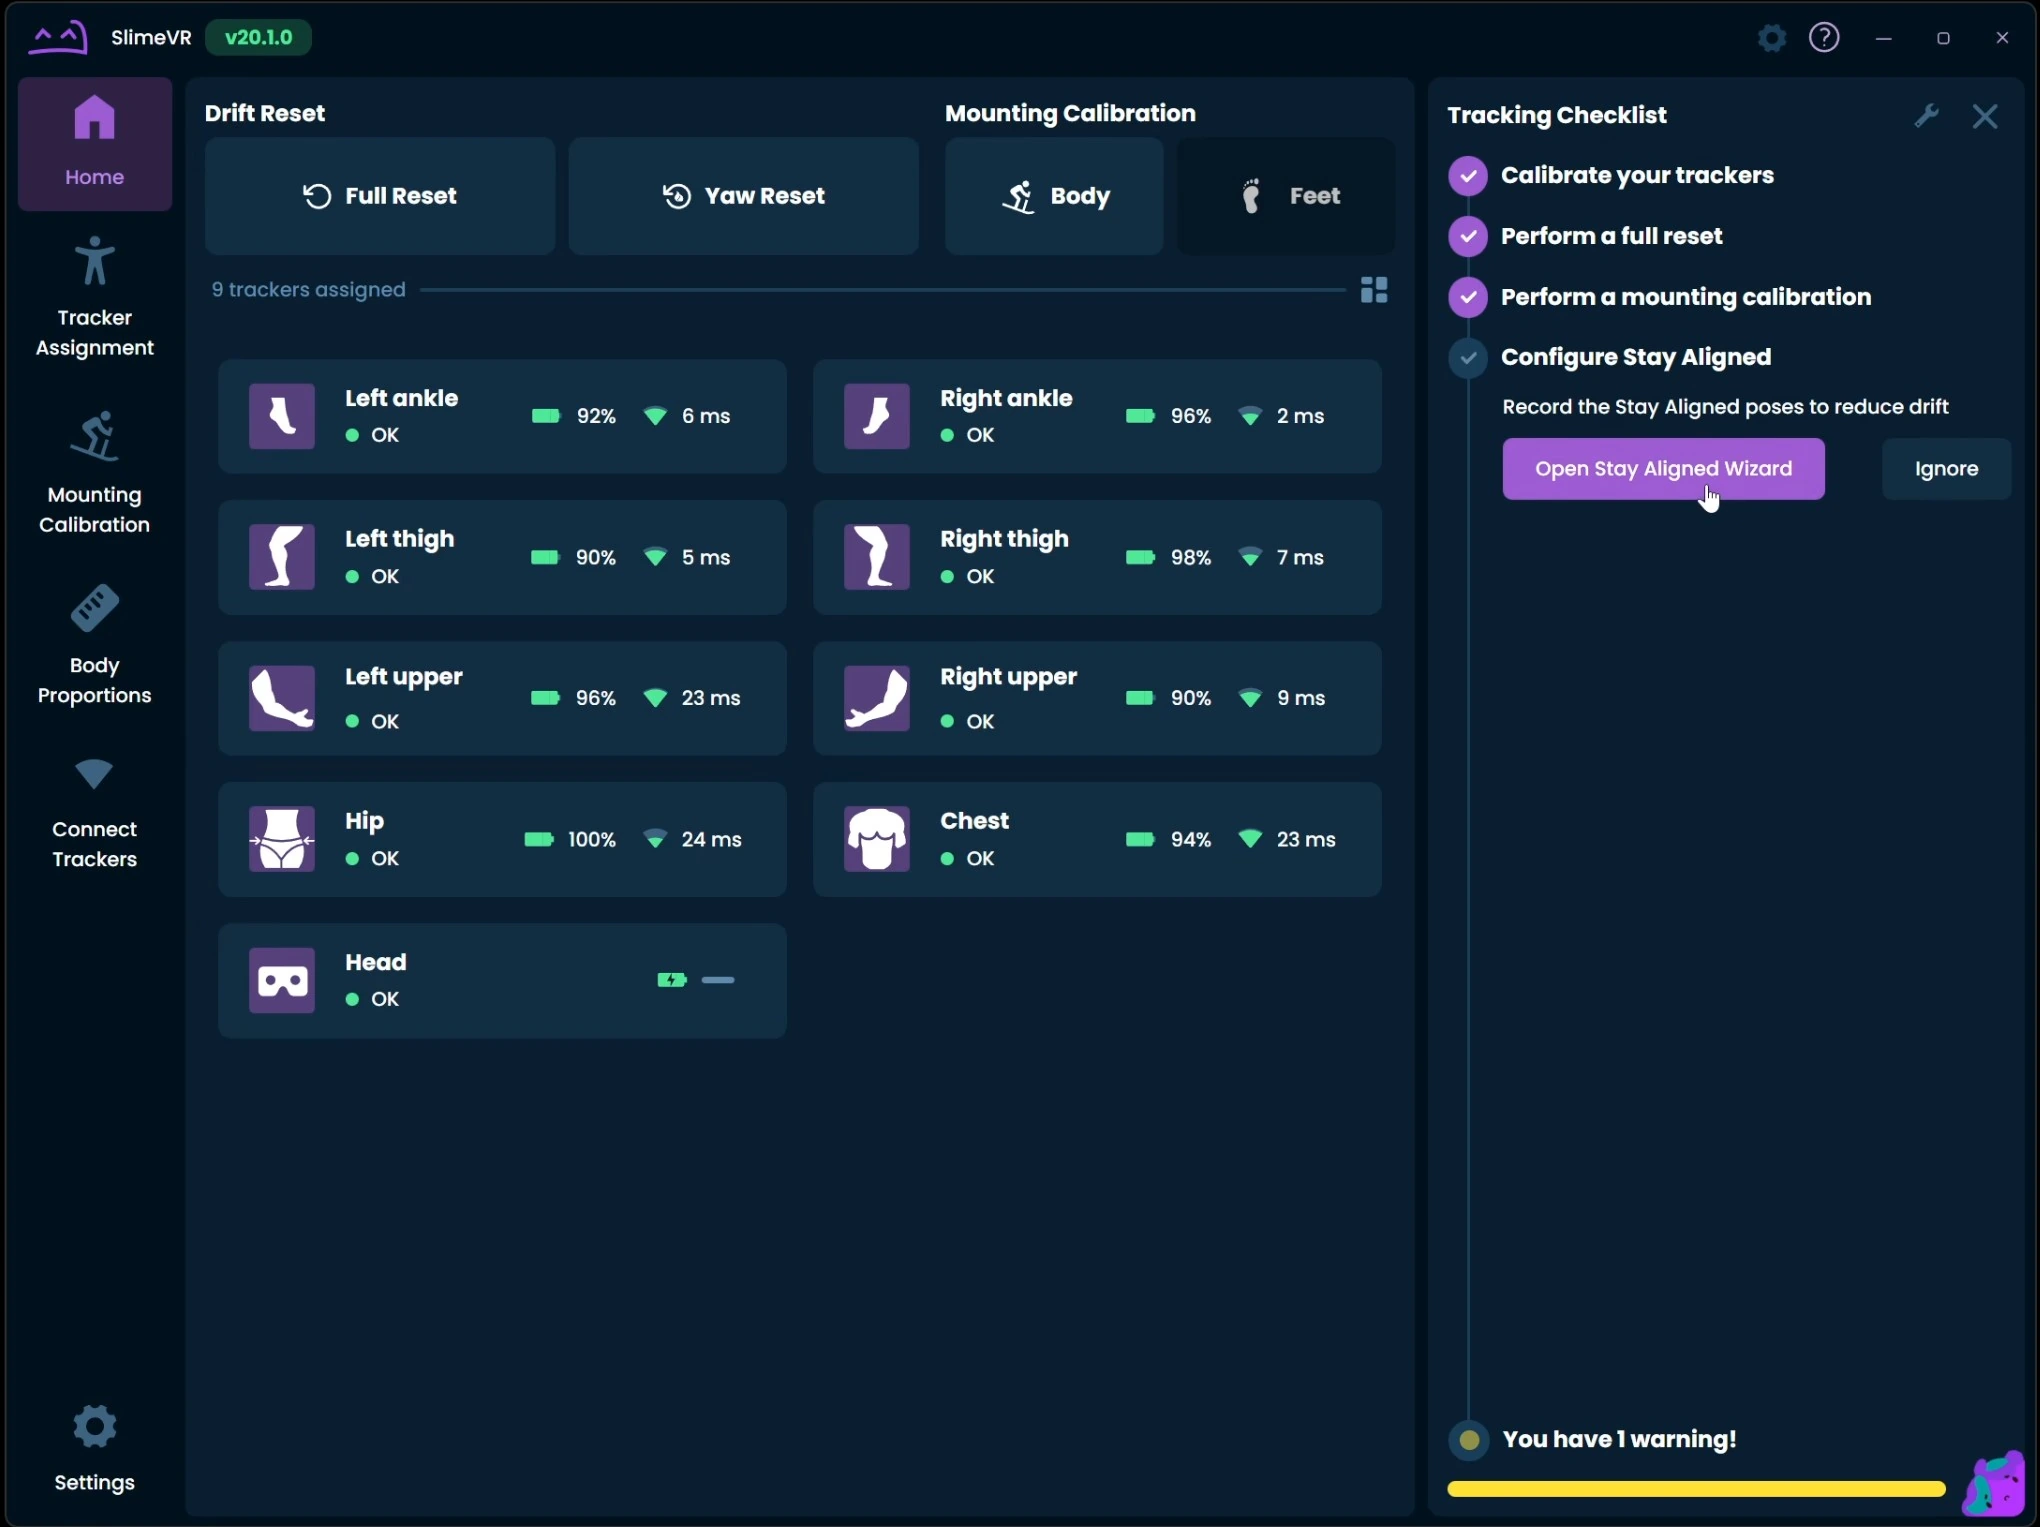
Go back to SlimeVR and you should now see an option to "Configure Stay Aligned" in the Checklist on the right side. Click on the "Open Stay Aligned Wizard" button.
Follow the steps in the Stay Aligned Wizard and save each of the poses requested. Stay Aligned helps improve the tracking quality and allows you to go longer before your trackers have any drift.
- Note:
If you do not see it as an option in the Checklist you can open it up by going to "Settings > General > Stay Aligned > Setup Stay Aligned".
- 14
VRChat Quick Calibration
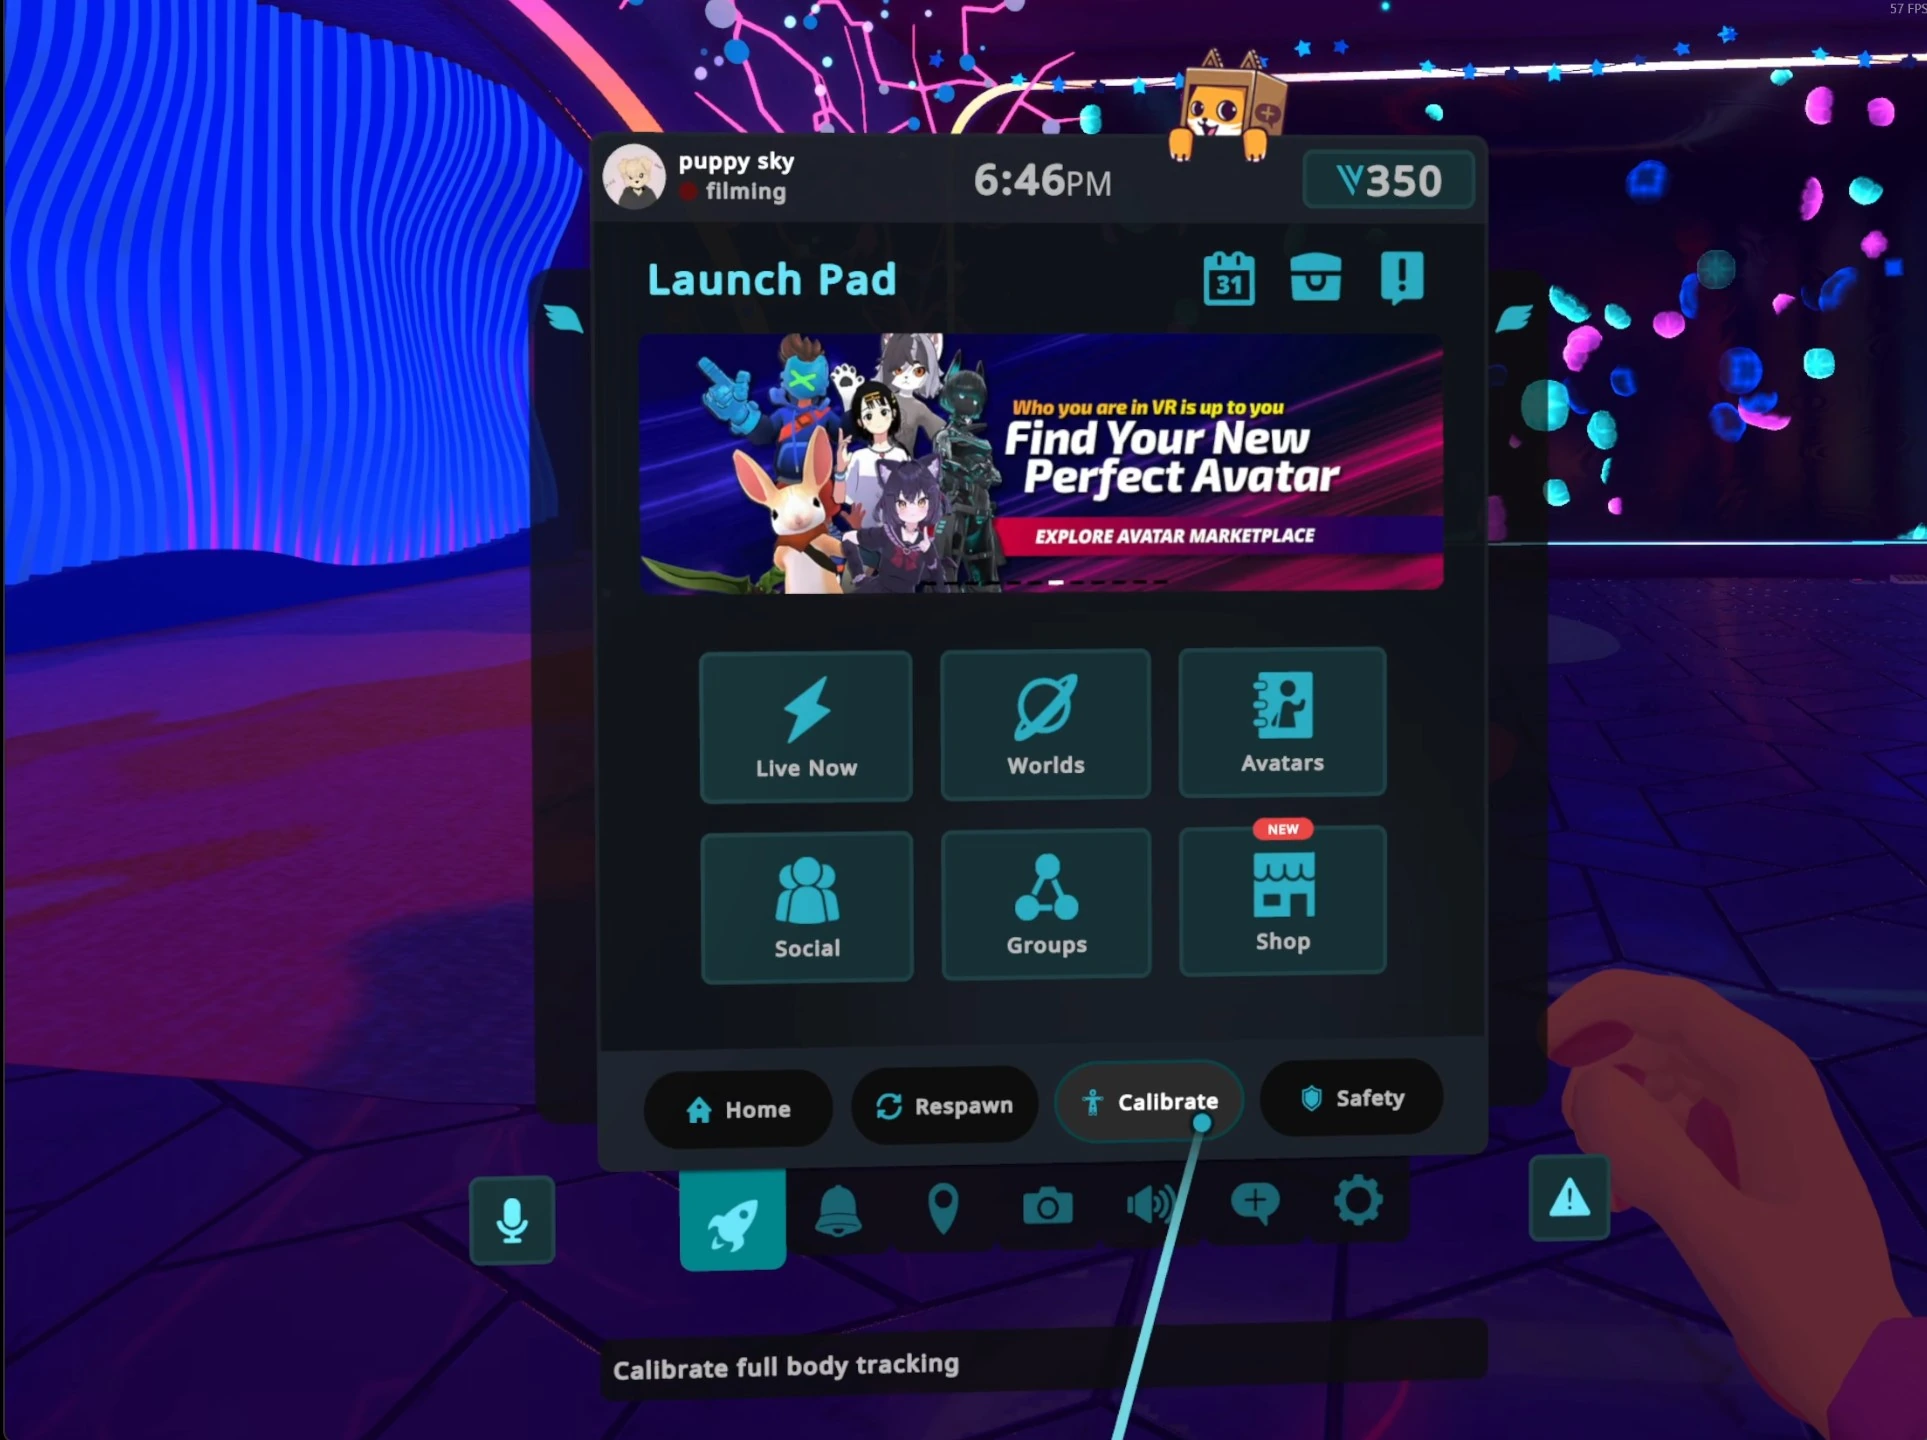
Back in VRChat open up the small menu and click on the "Calibrate" button.
Go into a T-Pose to match your avatar in game, then press both triggers on your controllers at the same time to confirm the calibration pose.
- 15
Setup Done!
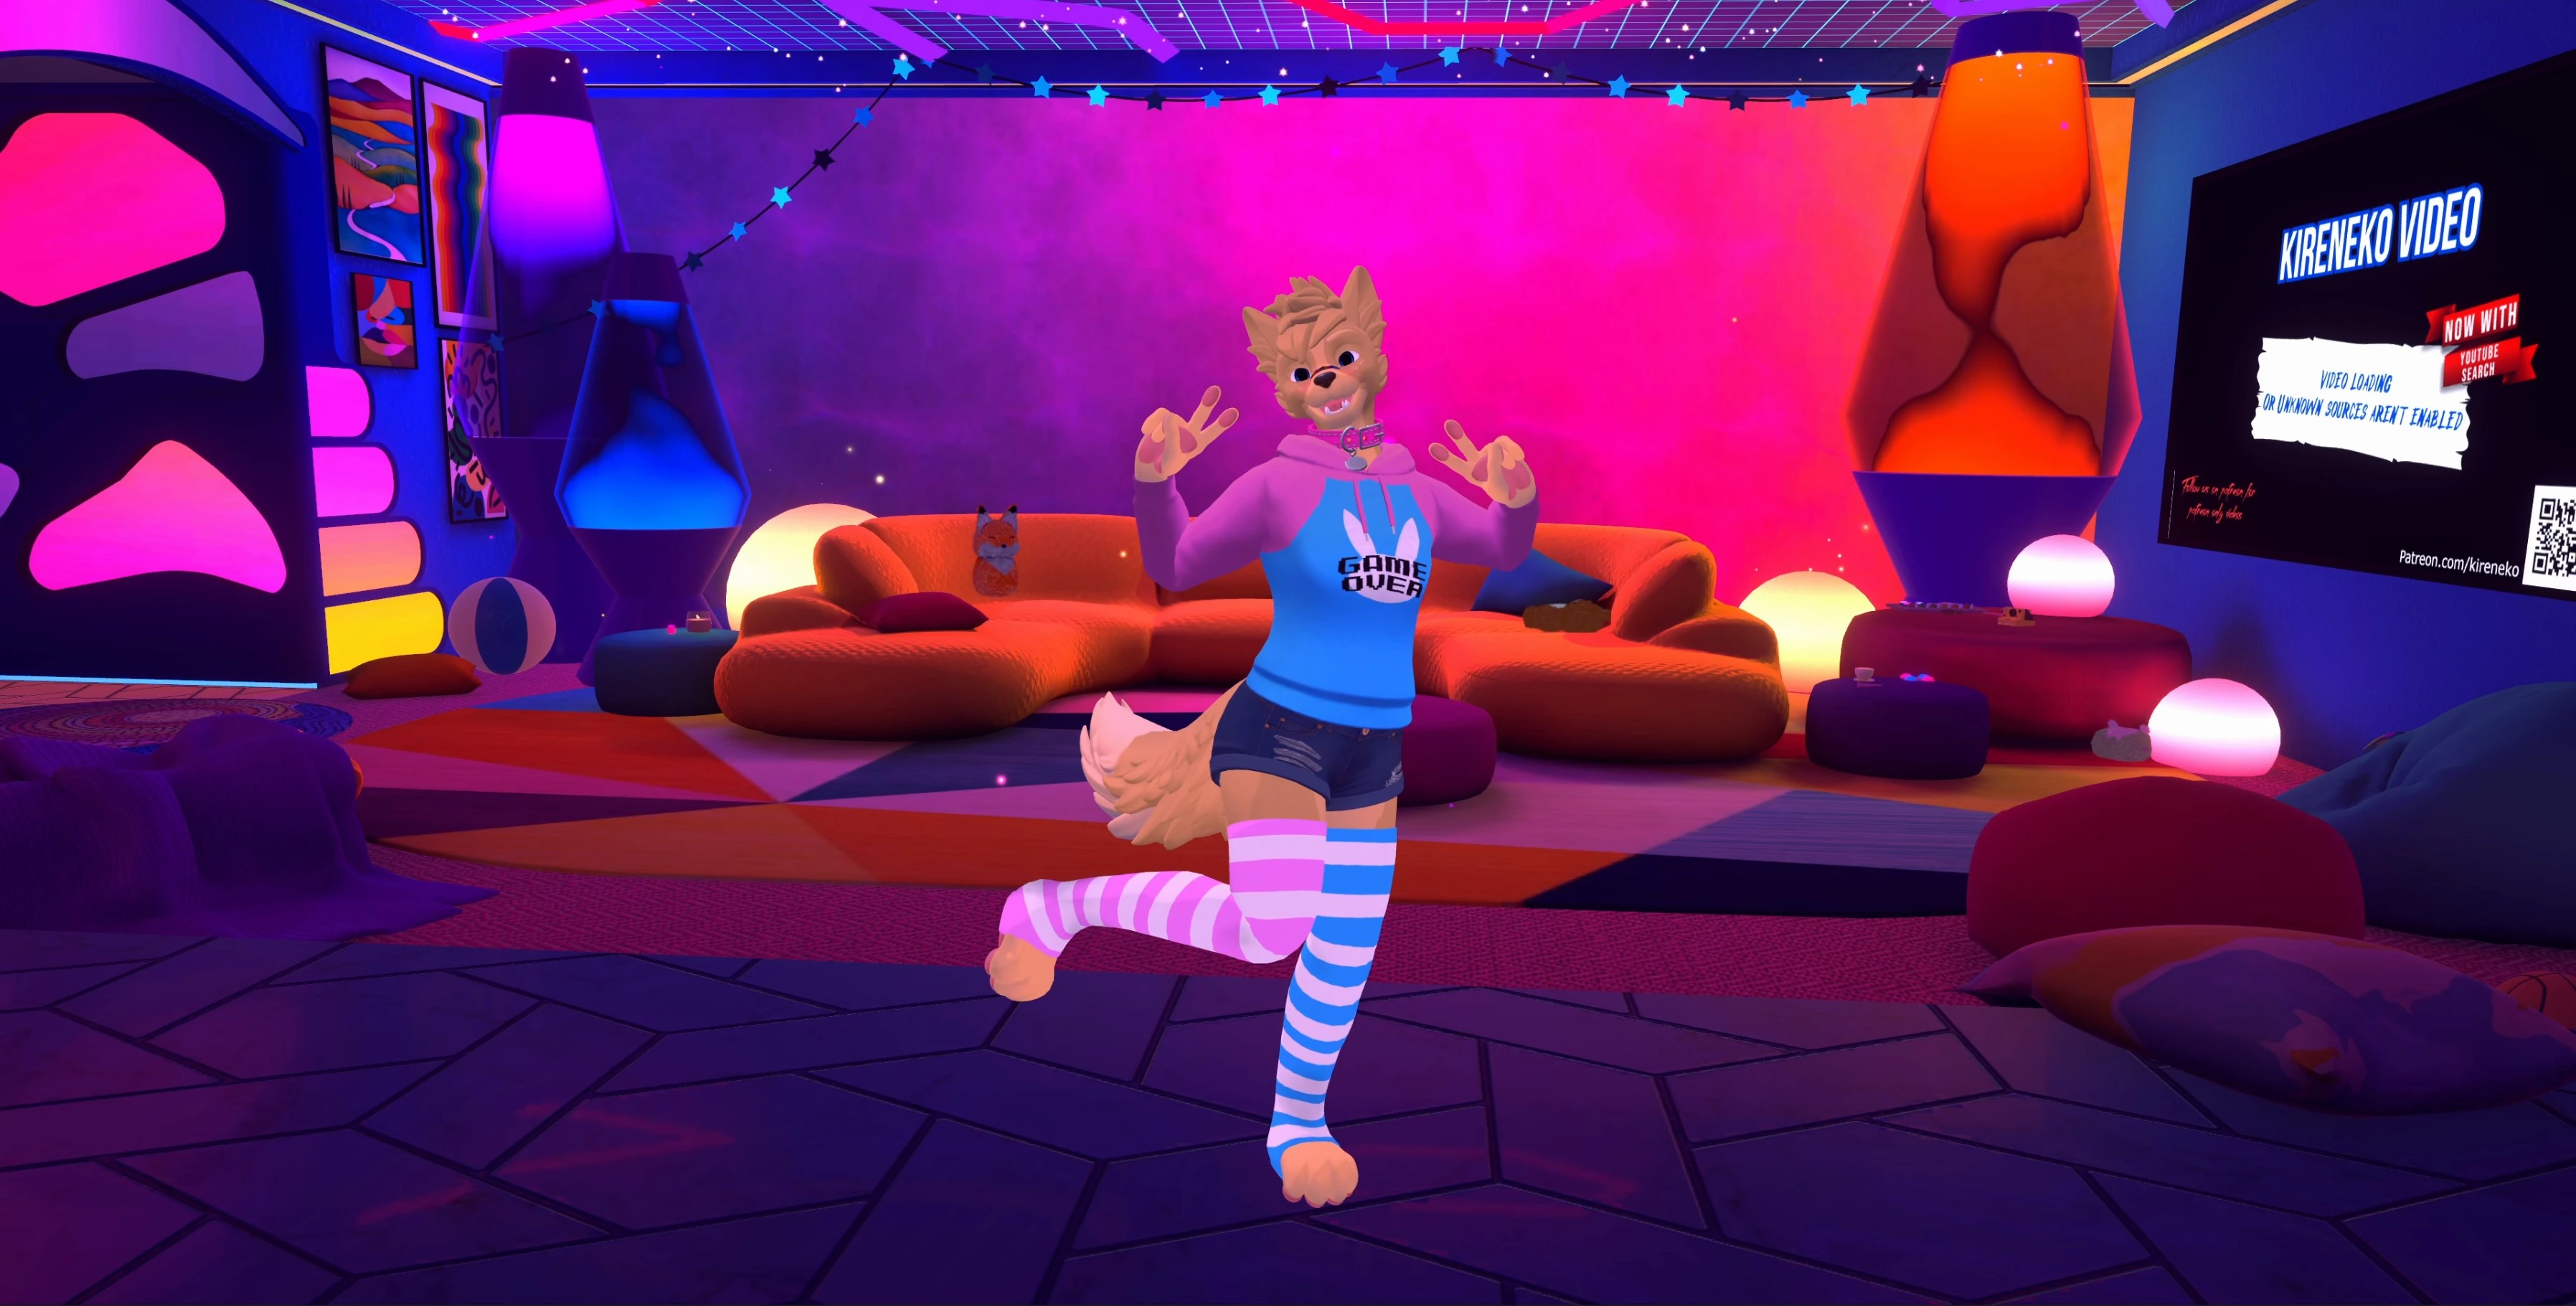
Congratulations! You are now done with all of the one-time setup steps! Your full body tracking should now be working!
Read the next guide to see the "Daily" setup steps for your future sessions and tips!

One-time Software Setup
Moderate30 minutes
This guide contains all the steps required to get SlimeVR and VRChat fully setup to use with your trackers. You only need to perform these steps a single time.


